
Last, I left off with the pickguard and balance being the main things to address. It’s been some time, and I think I have things figured out a bit better.
Balance
To address the balance, I started looking all over at solutions. Many people suggest adding wheel weights to the control cavity, moving the strap button, or getting a wider strap. Looking into wheel weights, I figured I should try to measure how much weight I would need to add to make that work. I wanted to get a nicer bridge anyway, so my first move was to install a heavier bridge, the Hipshot Kickass. This was around double the weight of the current bridge, and while it did help a bit, it wasn’t anywhere near enough weight. So I hung a bag from one of my pots and started adding weight to see how much of a difference weight in the control area would help.
Wheel weights typically come in 1/4 oz or 1/2 oz increments. I found that I needed closer to 2 lbs, so there’s no way I could fit enough wheel weights in there to match that. Going further, it also didn’t seem that the weight being added to the control cavity area would help significantly, as when I added 2 lbs there, it didn’t help that much. Hanging 2 lbs from the strap, however, did work.
Another option people recommended was using lighter tuners. Hipshot makes some ultralight tuners that are about equal to 3 tuners instead of 4. So the best way to test this was to remove a tuner and see if that fixed things. I removed the G tuner, and it also didn’t seem to fix things. I started to wonder if weight wasn’t the real issue, so I looked at pictures of the Fender Player Jaguar bass.
This is when I realized there are different reasons why basses don’t balance. You can have slight neckdive which is addressed by changing the weight distribution slightly, however in severe cases, its not about the weight, but more about the point of the fulcrum. The longer upper horn on the jaguar bass makes it so that the fulcrum of the strap is closer to the balance point of the bass (which on this is in the neck joint). The best way, therefore, to fix neck dive is to move your upper strap mounting point. The issue is that the upper horn isn’t something you can easily change on a bass after the fact.
After all this discovery, I realized there are really 2 paths forward. I can attach a subtle looking ankle weight to my strap for this bass, or I can try to make an extender for my strap button. With how the bass fits in the case, it might be tough to add enough extension to that upper horn to get a strap to hold. Additionally, I’d be concerned about weight bending the screw holding things in, and getting something that’s strong enough, but doesn’t look too odd since a big reason for making my bass is having it look the way I want it to.
Finally, I decided to start with the ankle weight, and velcro it to the inside of the strap. This is very easily reversible, lets me use fun patterned straps, and it still isn’t crazy heavy. The case for my bass still outweighs the instrument itself.
The Pickguard
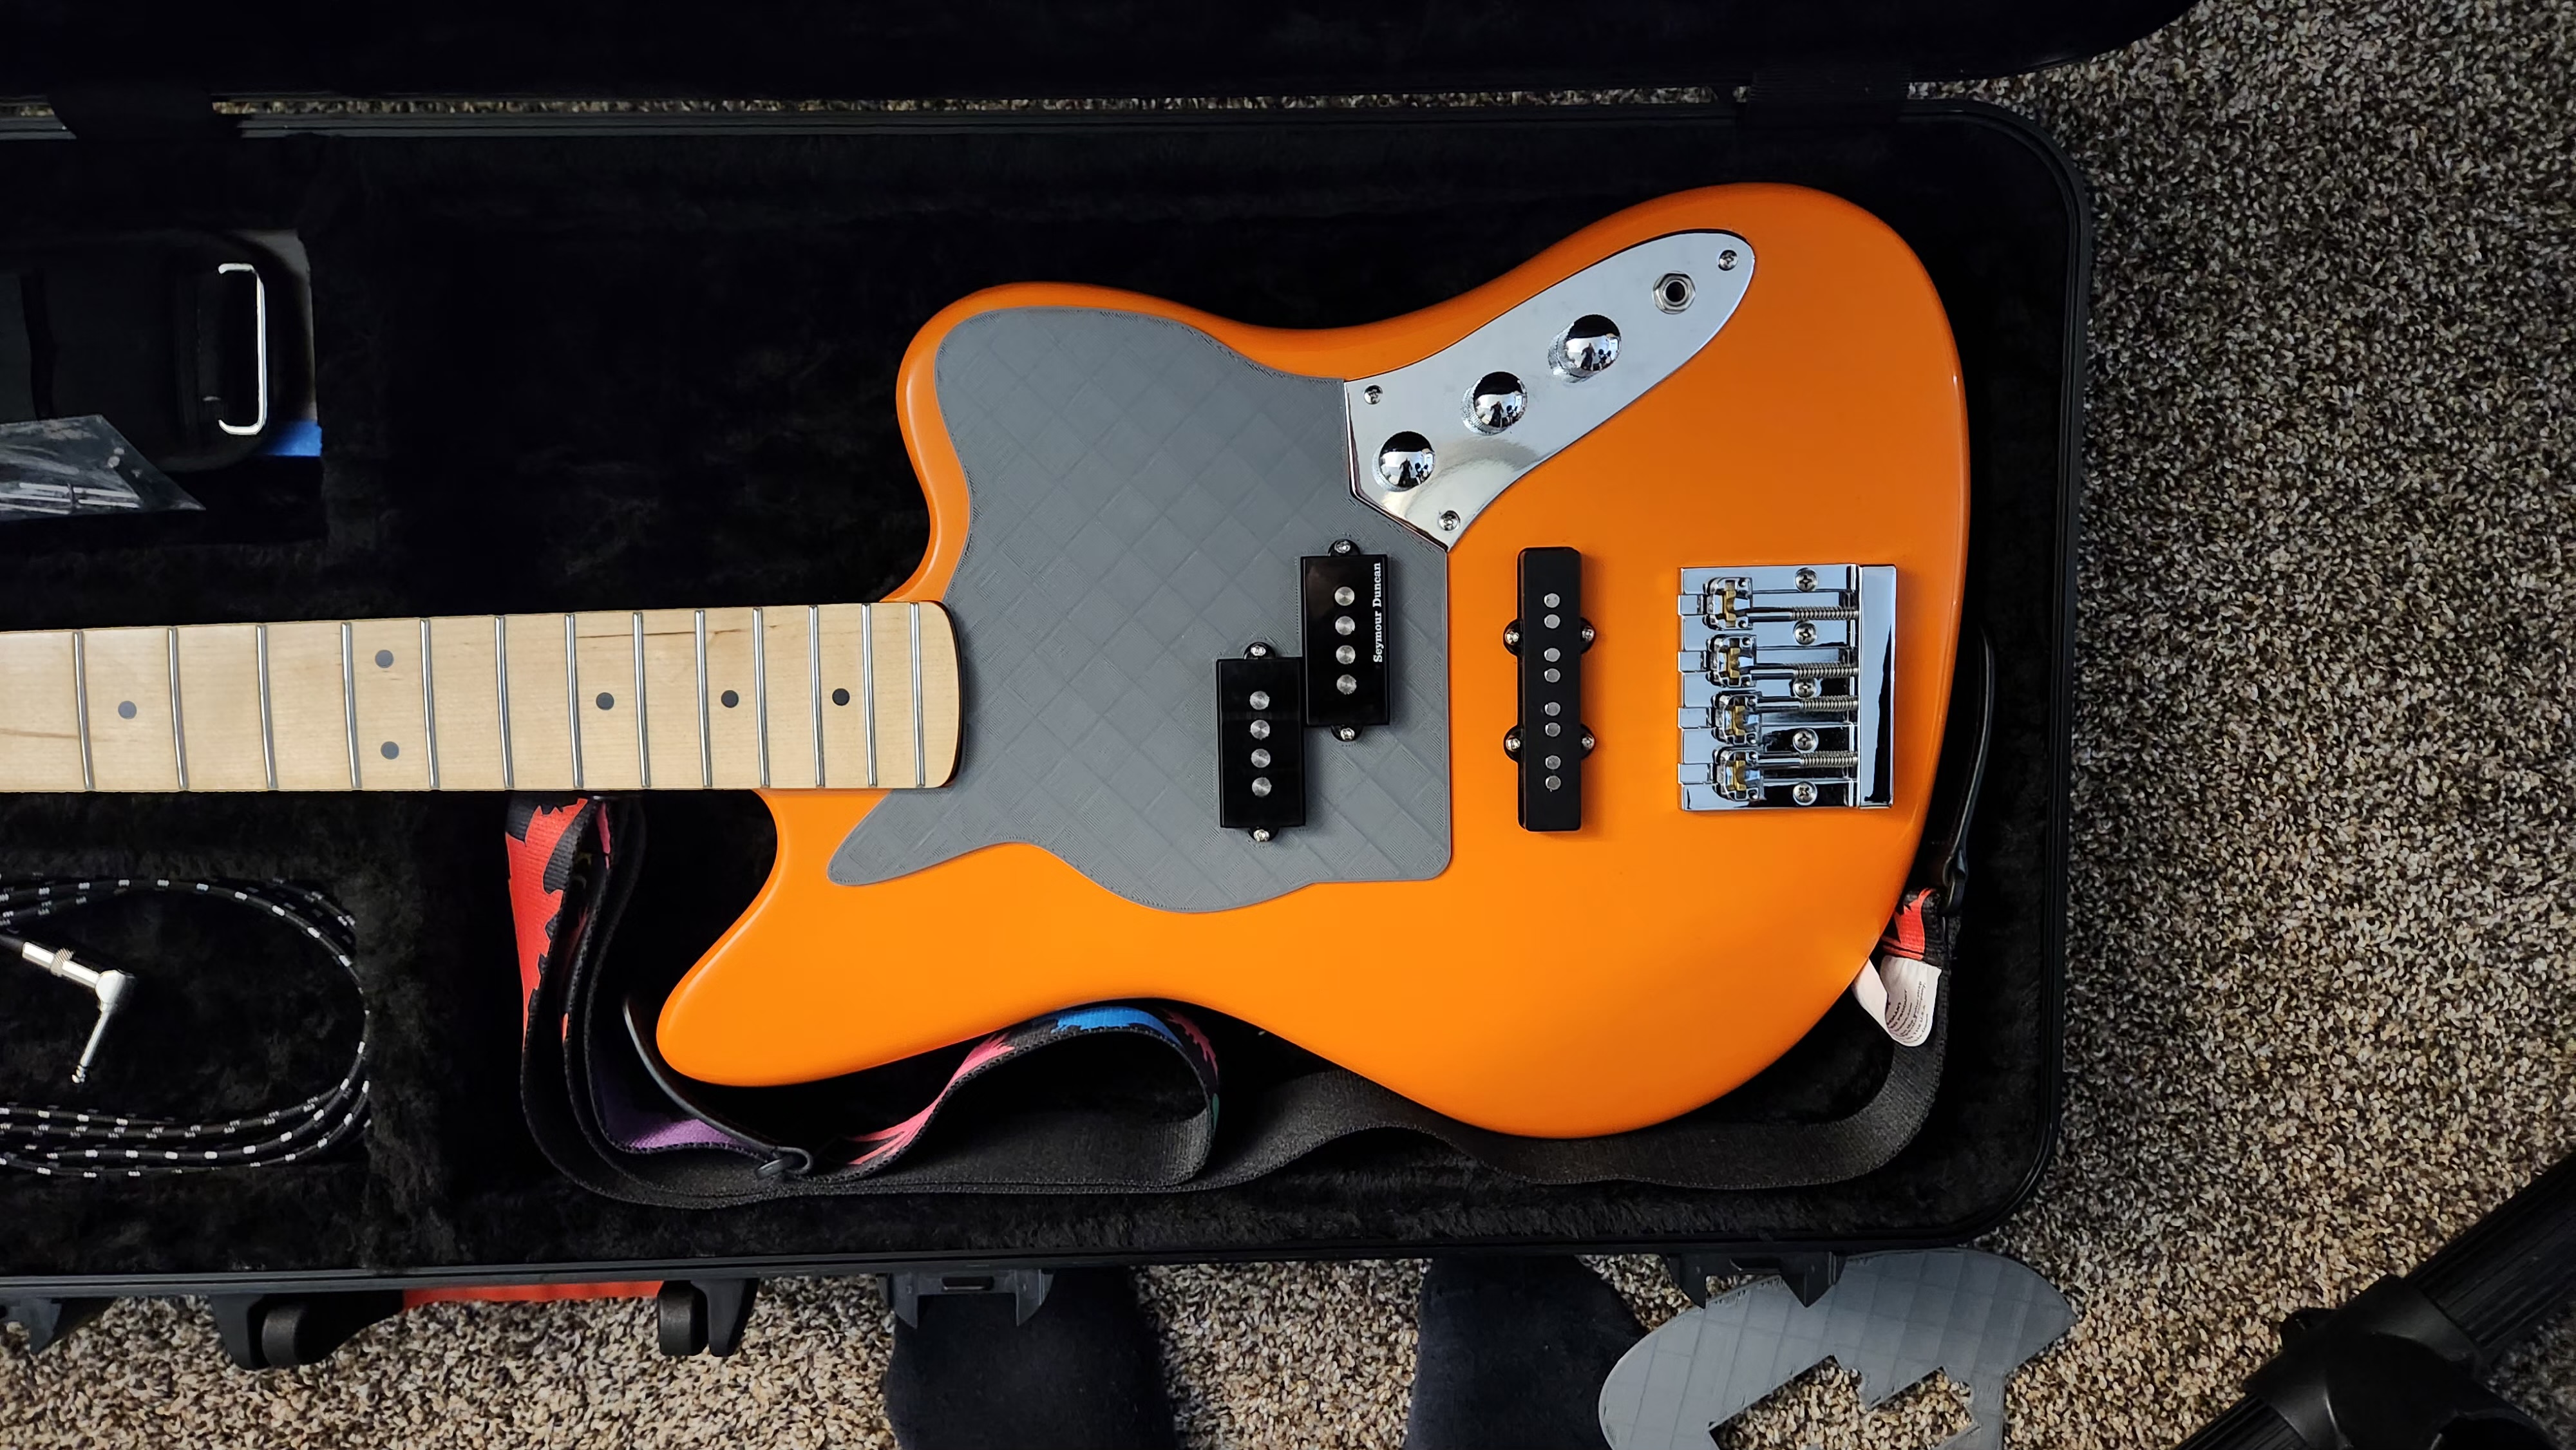
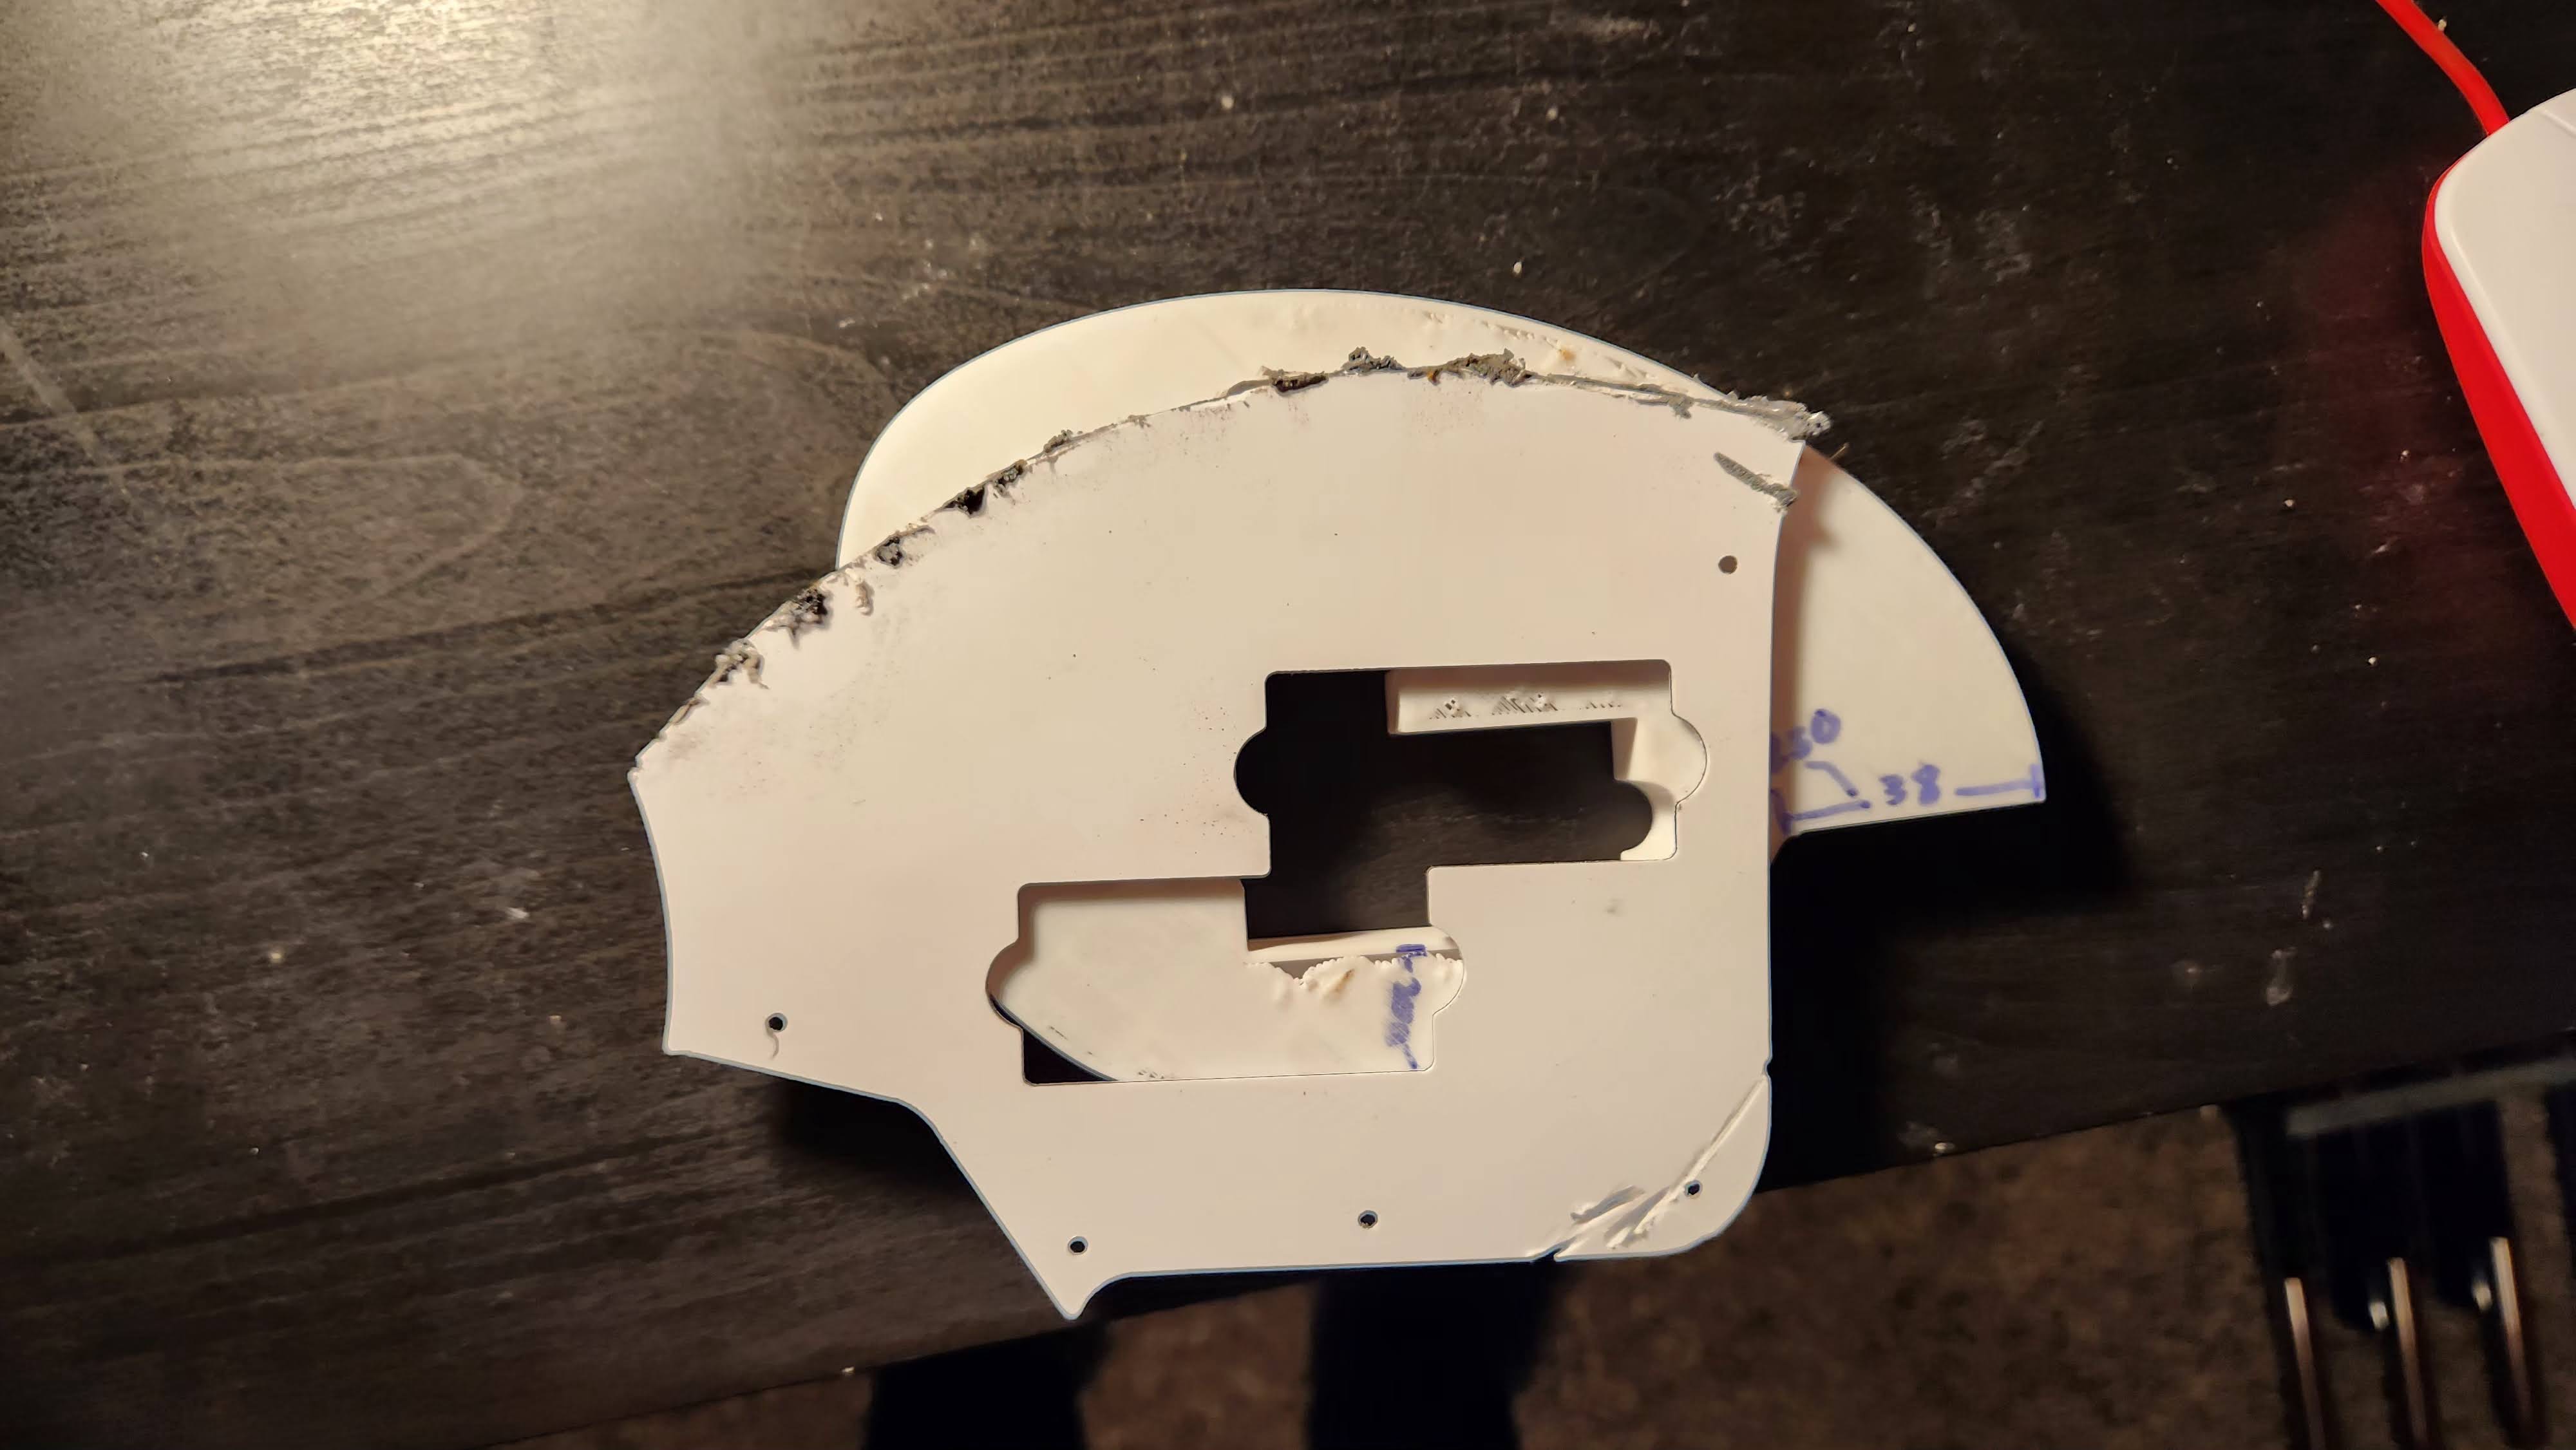
In the last post I talked about how bad I am at duplicating templates with a trim router. I decided that I should model and print one this time instead of cutting one out, because printing would allow me to use thicker material, would be cheap, and I could have very precise measurements and fit. I started measuring the dimensions of parts on the bass, drew up some basic sketches in Fusion 360, and started printing.
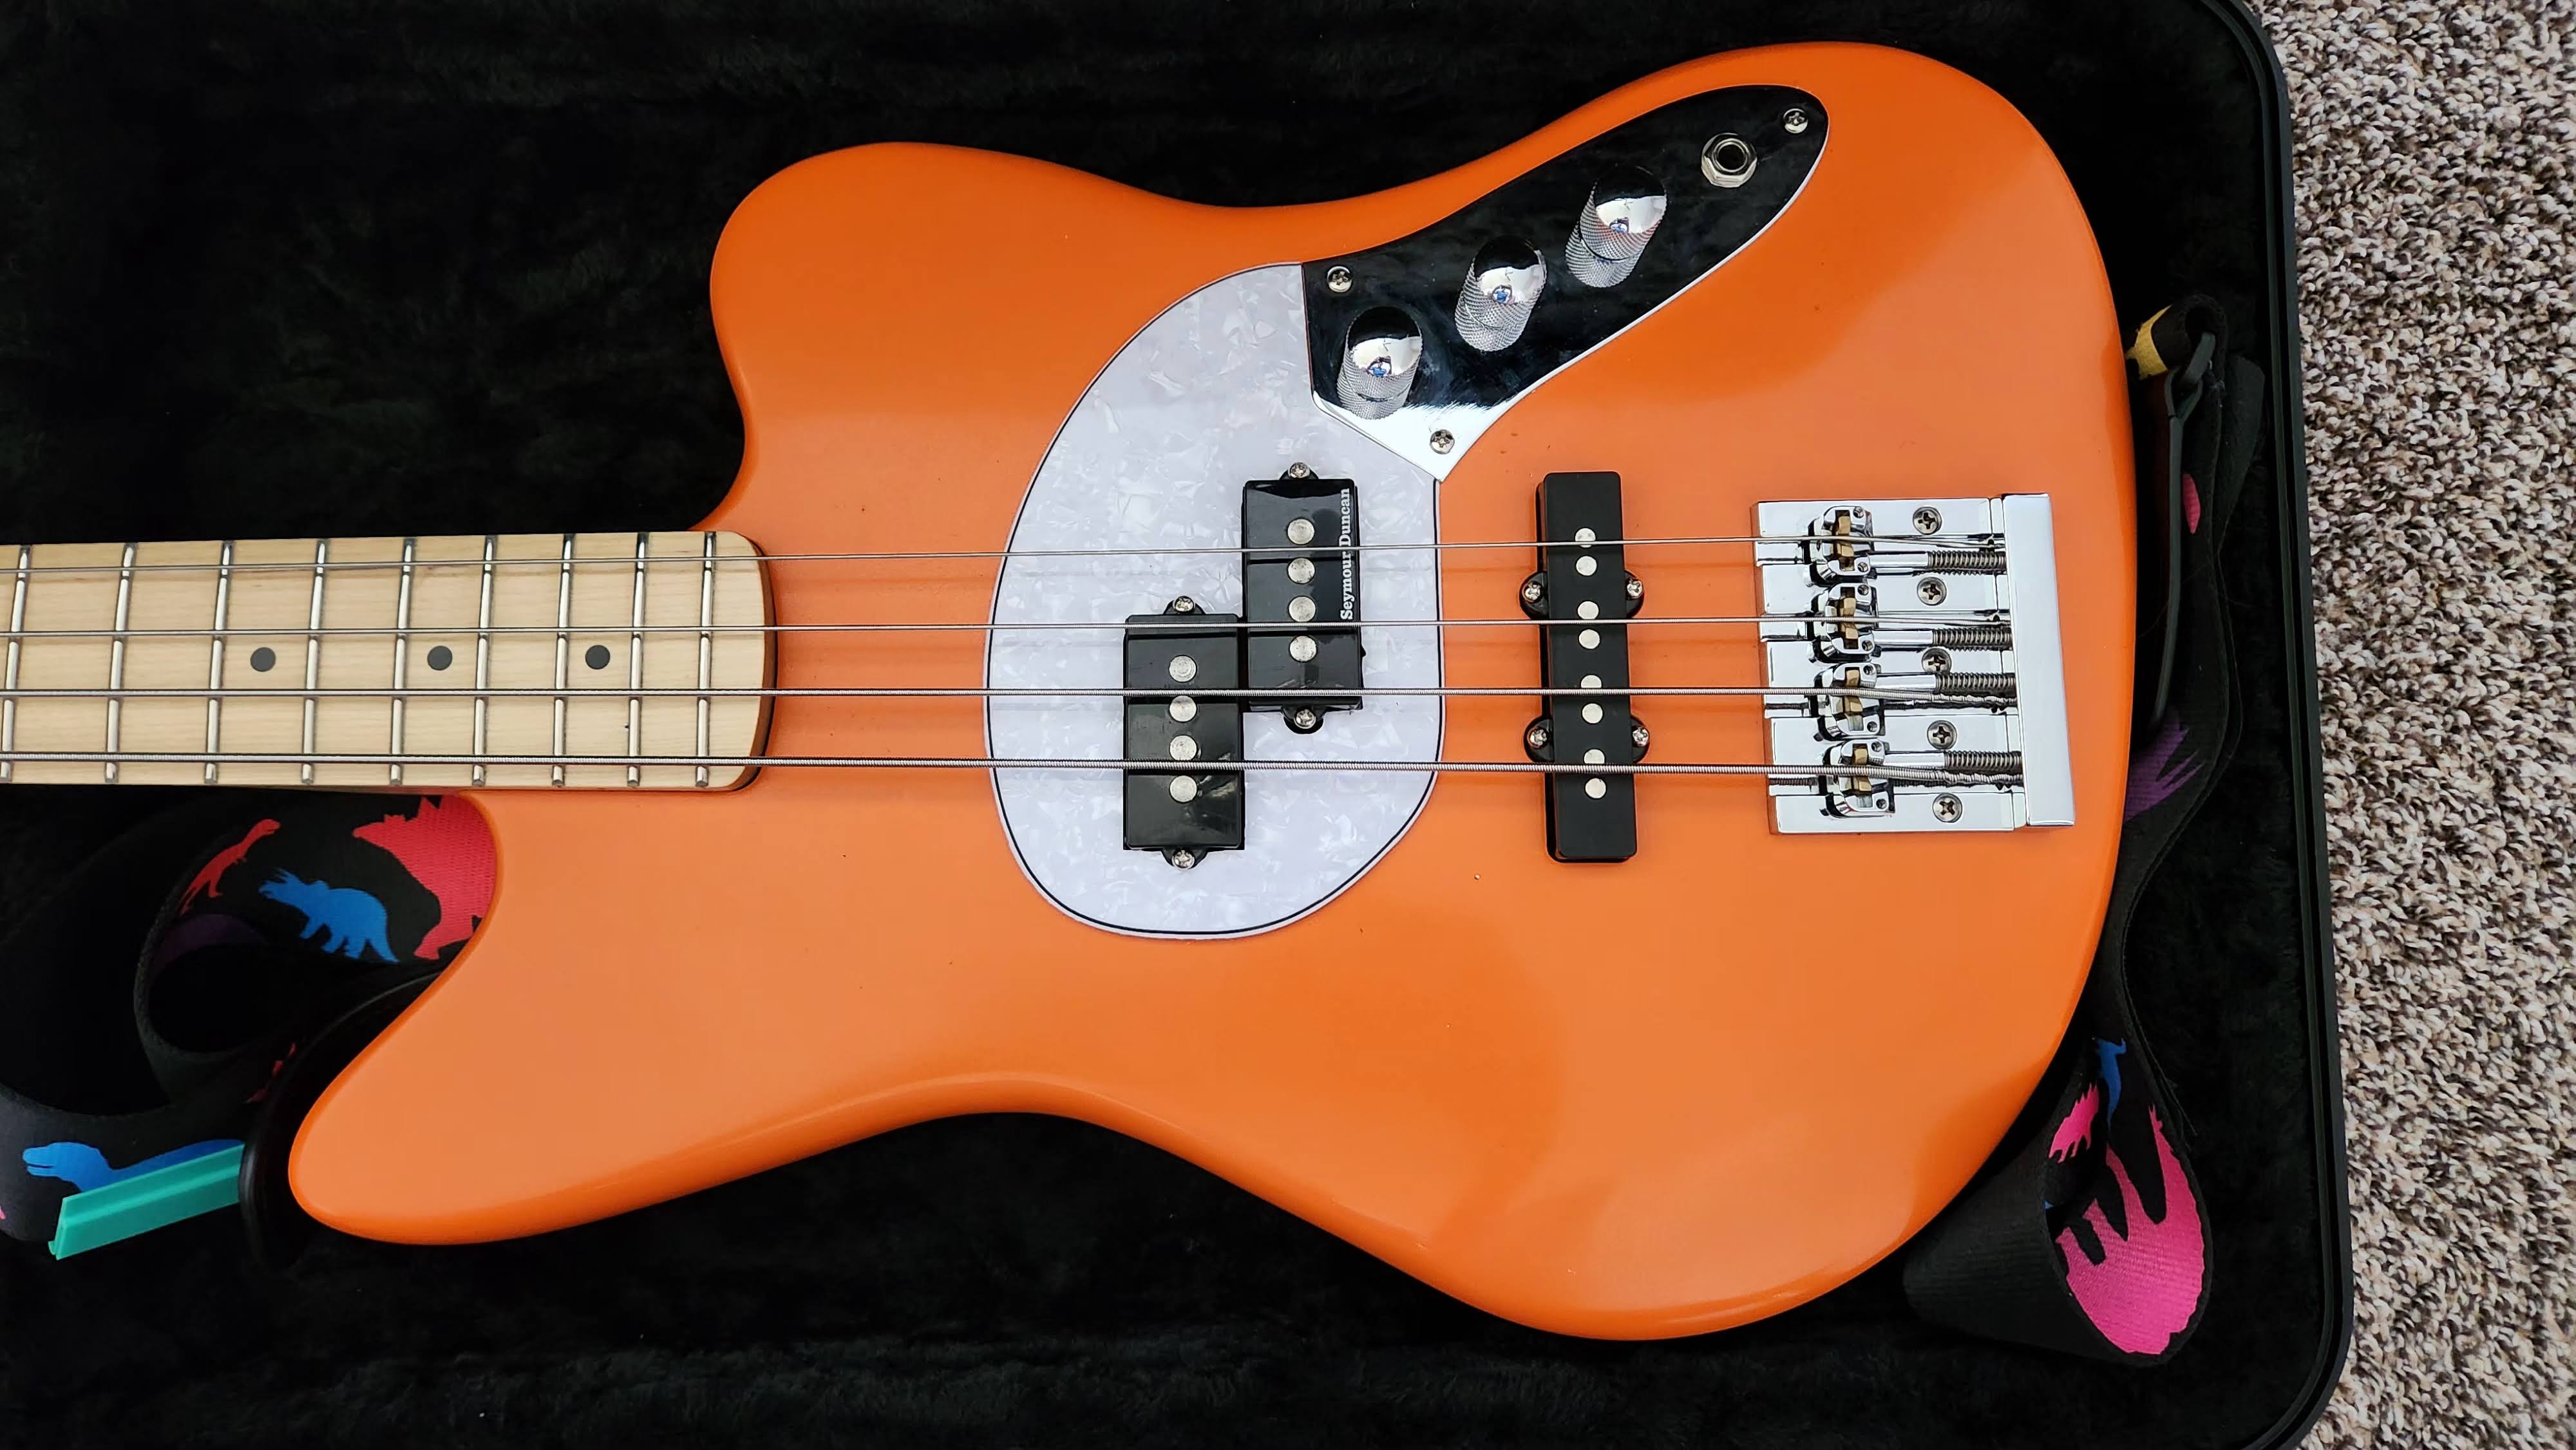
It took several revisions, but eventually I got the dimensions right for the different curves and joints, and things fit nicely. I realized early on that printing the whole pickguard over and over was a little wasteful, so I started printing just the pieces I was concerned about; the neck joint, and the pickup area to the control cavity. While doing this, I found I actually preferred having a small pickguard around the pickups, so I redid my design to cover just that.

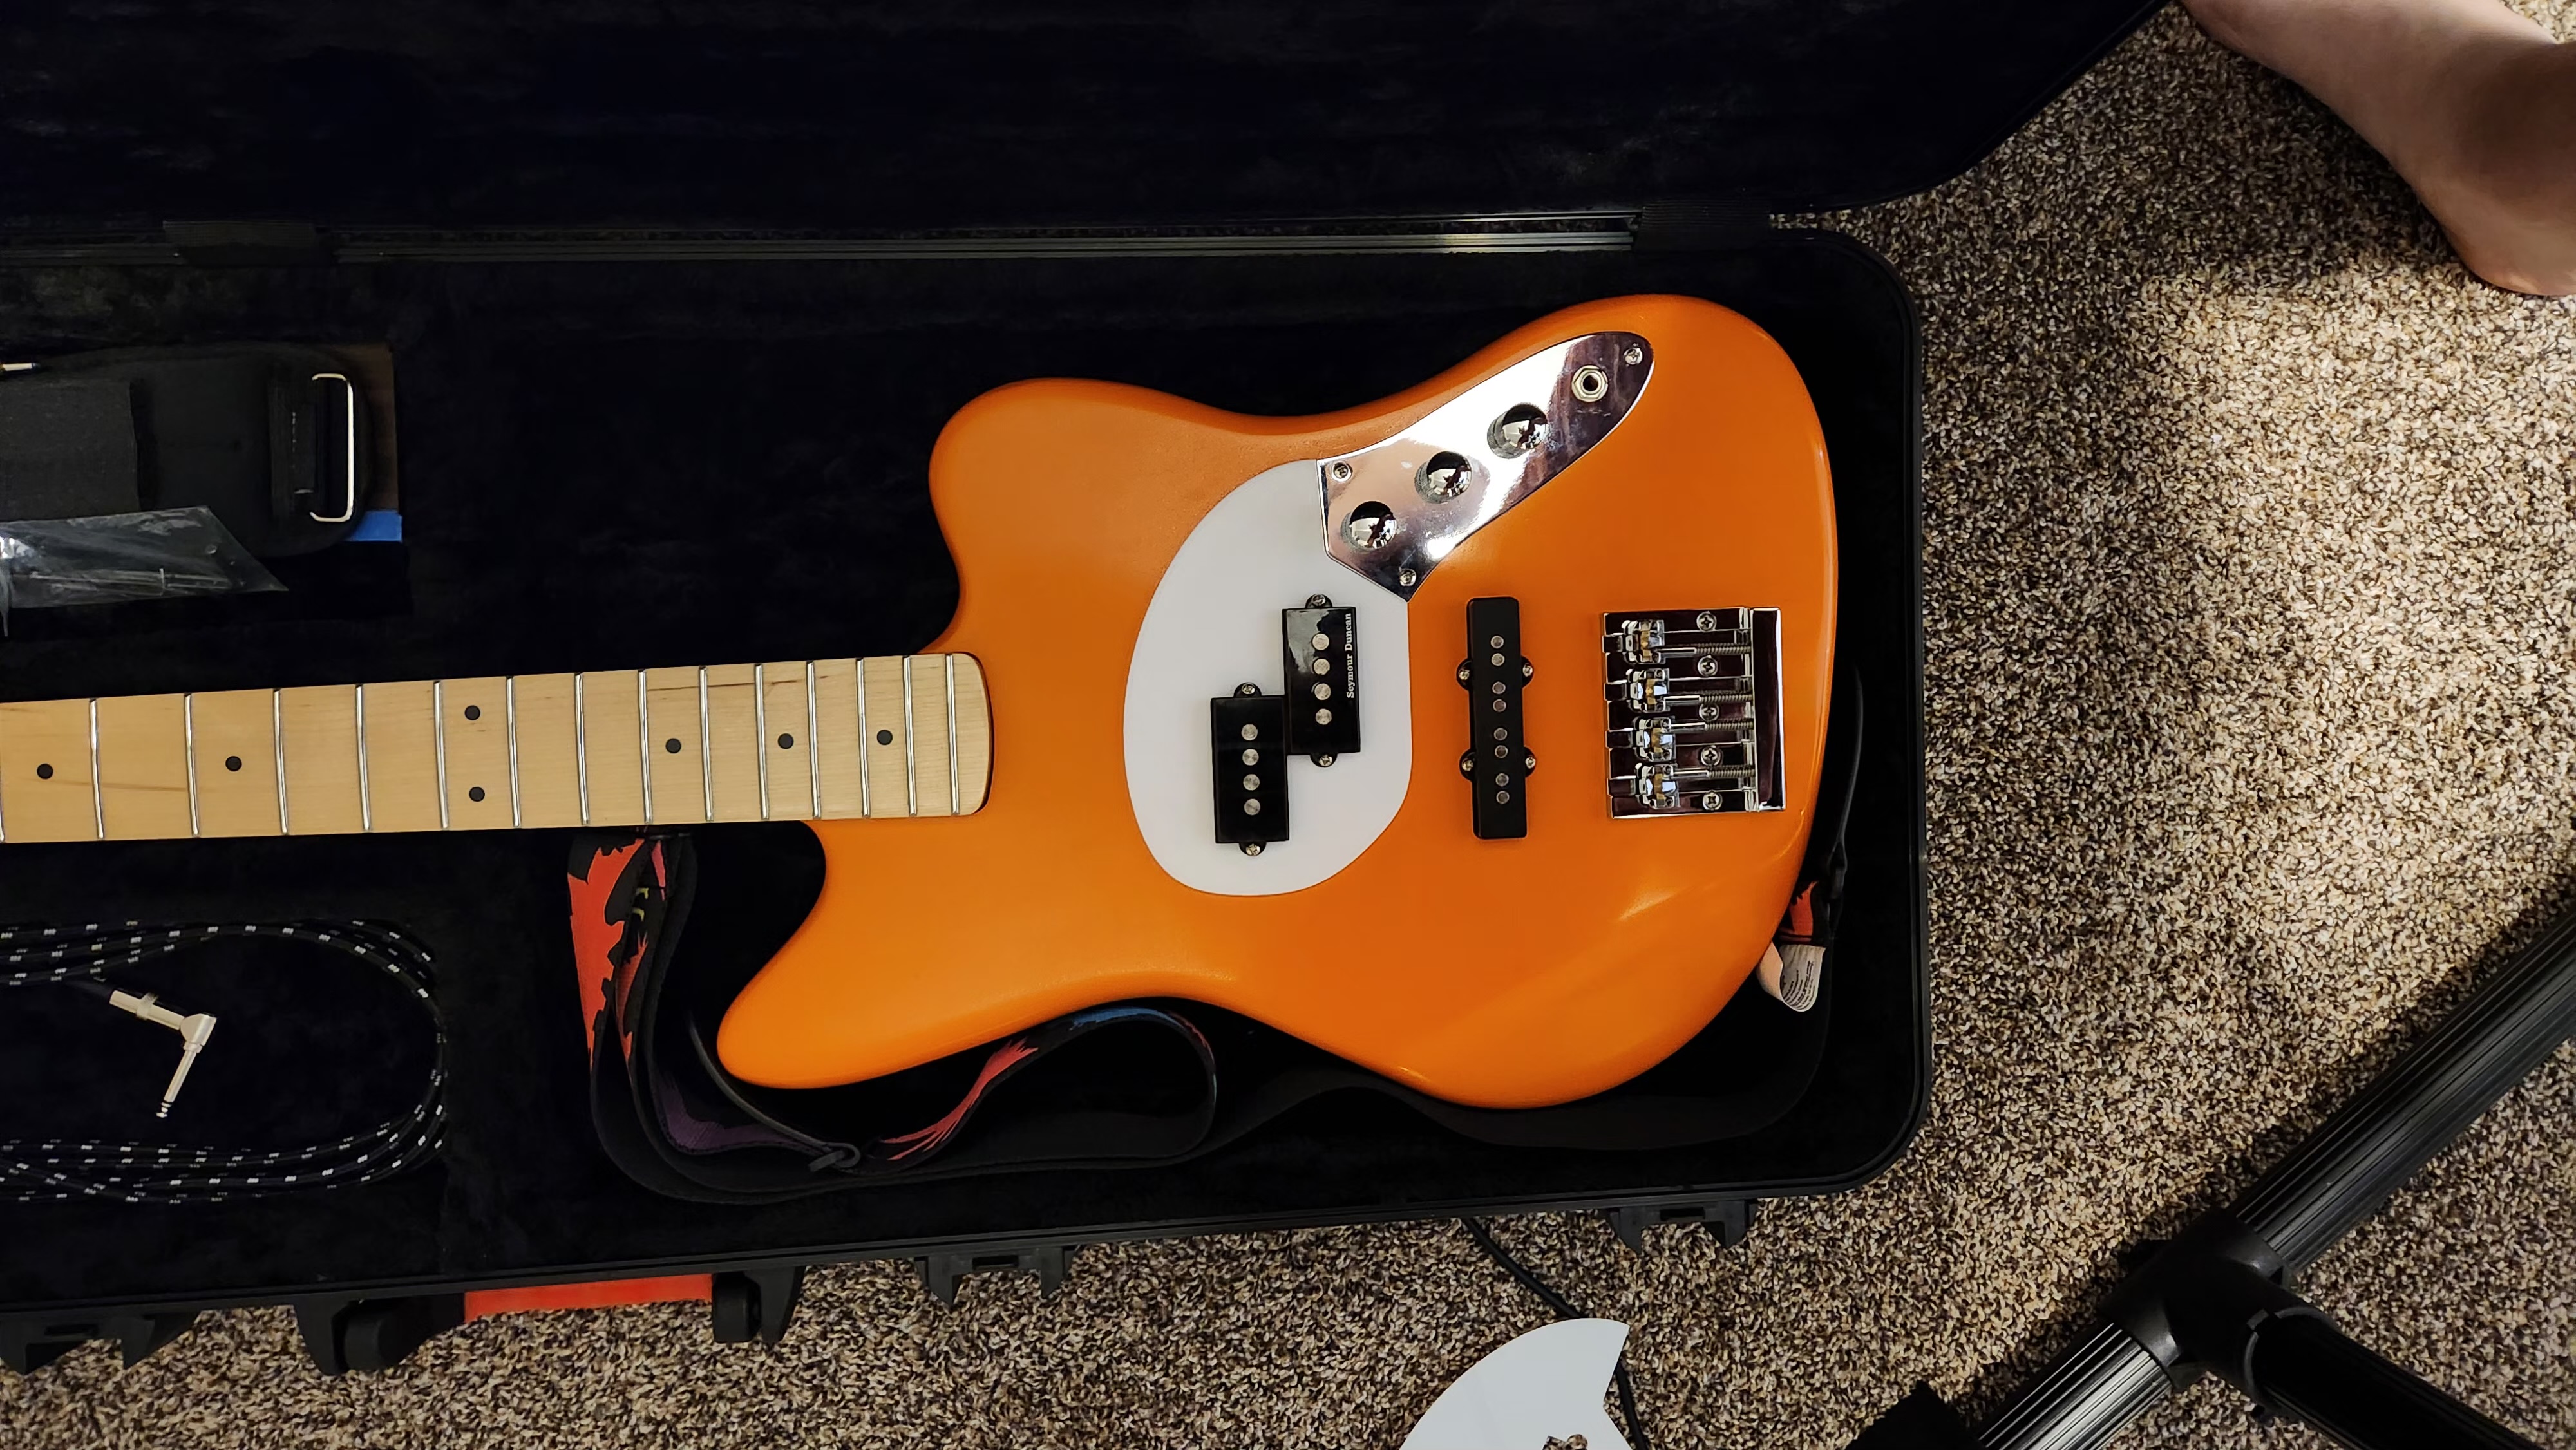
I printed the final version in white, and realized that not using screws to fasten it in place was possible since the tolerances were as tight as they were, but that I also could use magnets and change out the pickguard from time to time if I wanted to slightly change the look of the bass. My wife could draw a cool design on one, my kids could put their handprints on one, or paint a picture and I could easily swap between them. Looking into other guitar mods, I don’t think that some 6x2mm magnets should interfere with the pickups or significantly affect tone, and would be plenty strong to hold a pickguard in place with the magnets being recessed in the body.
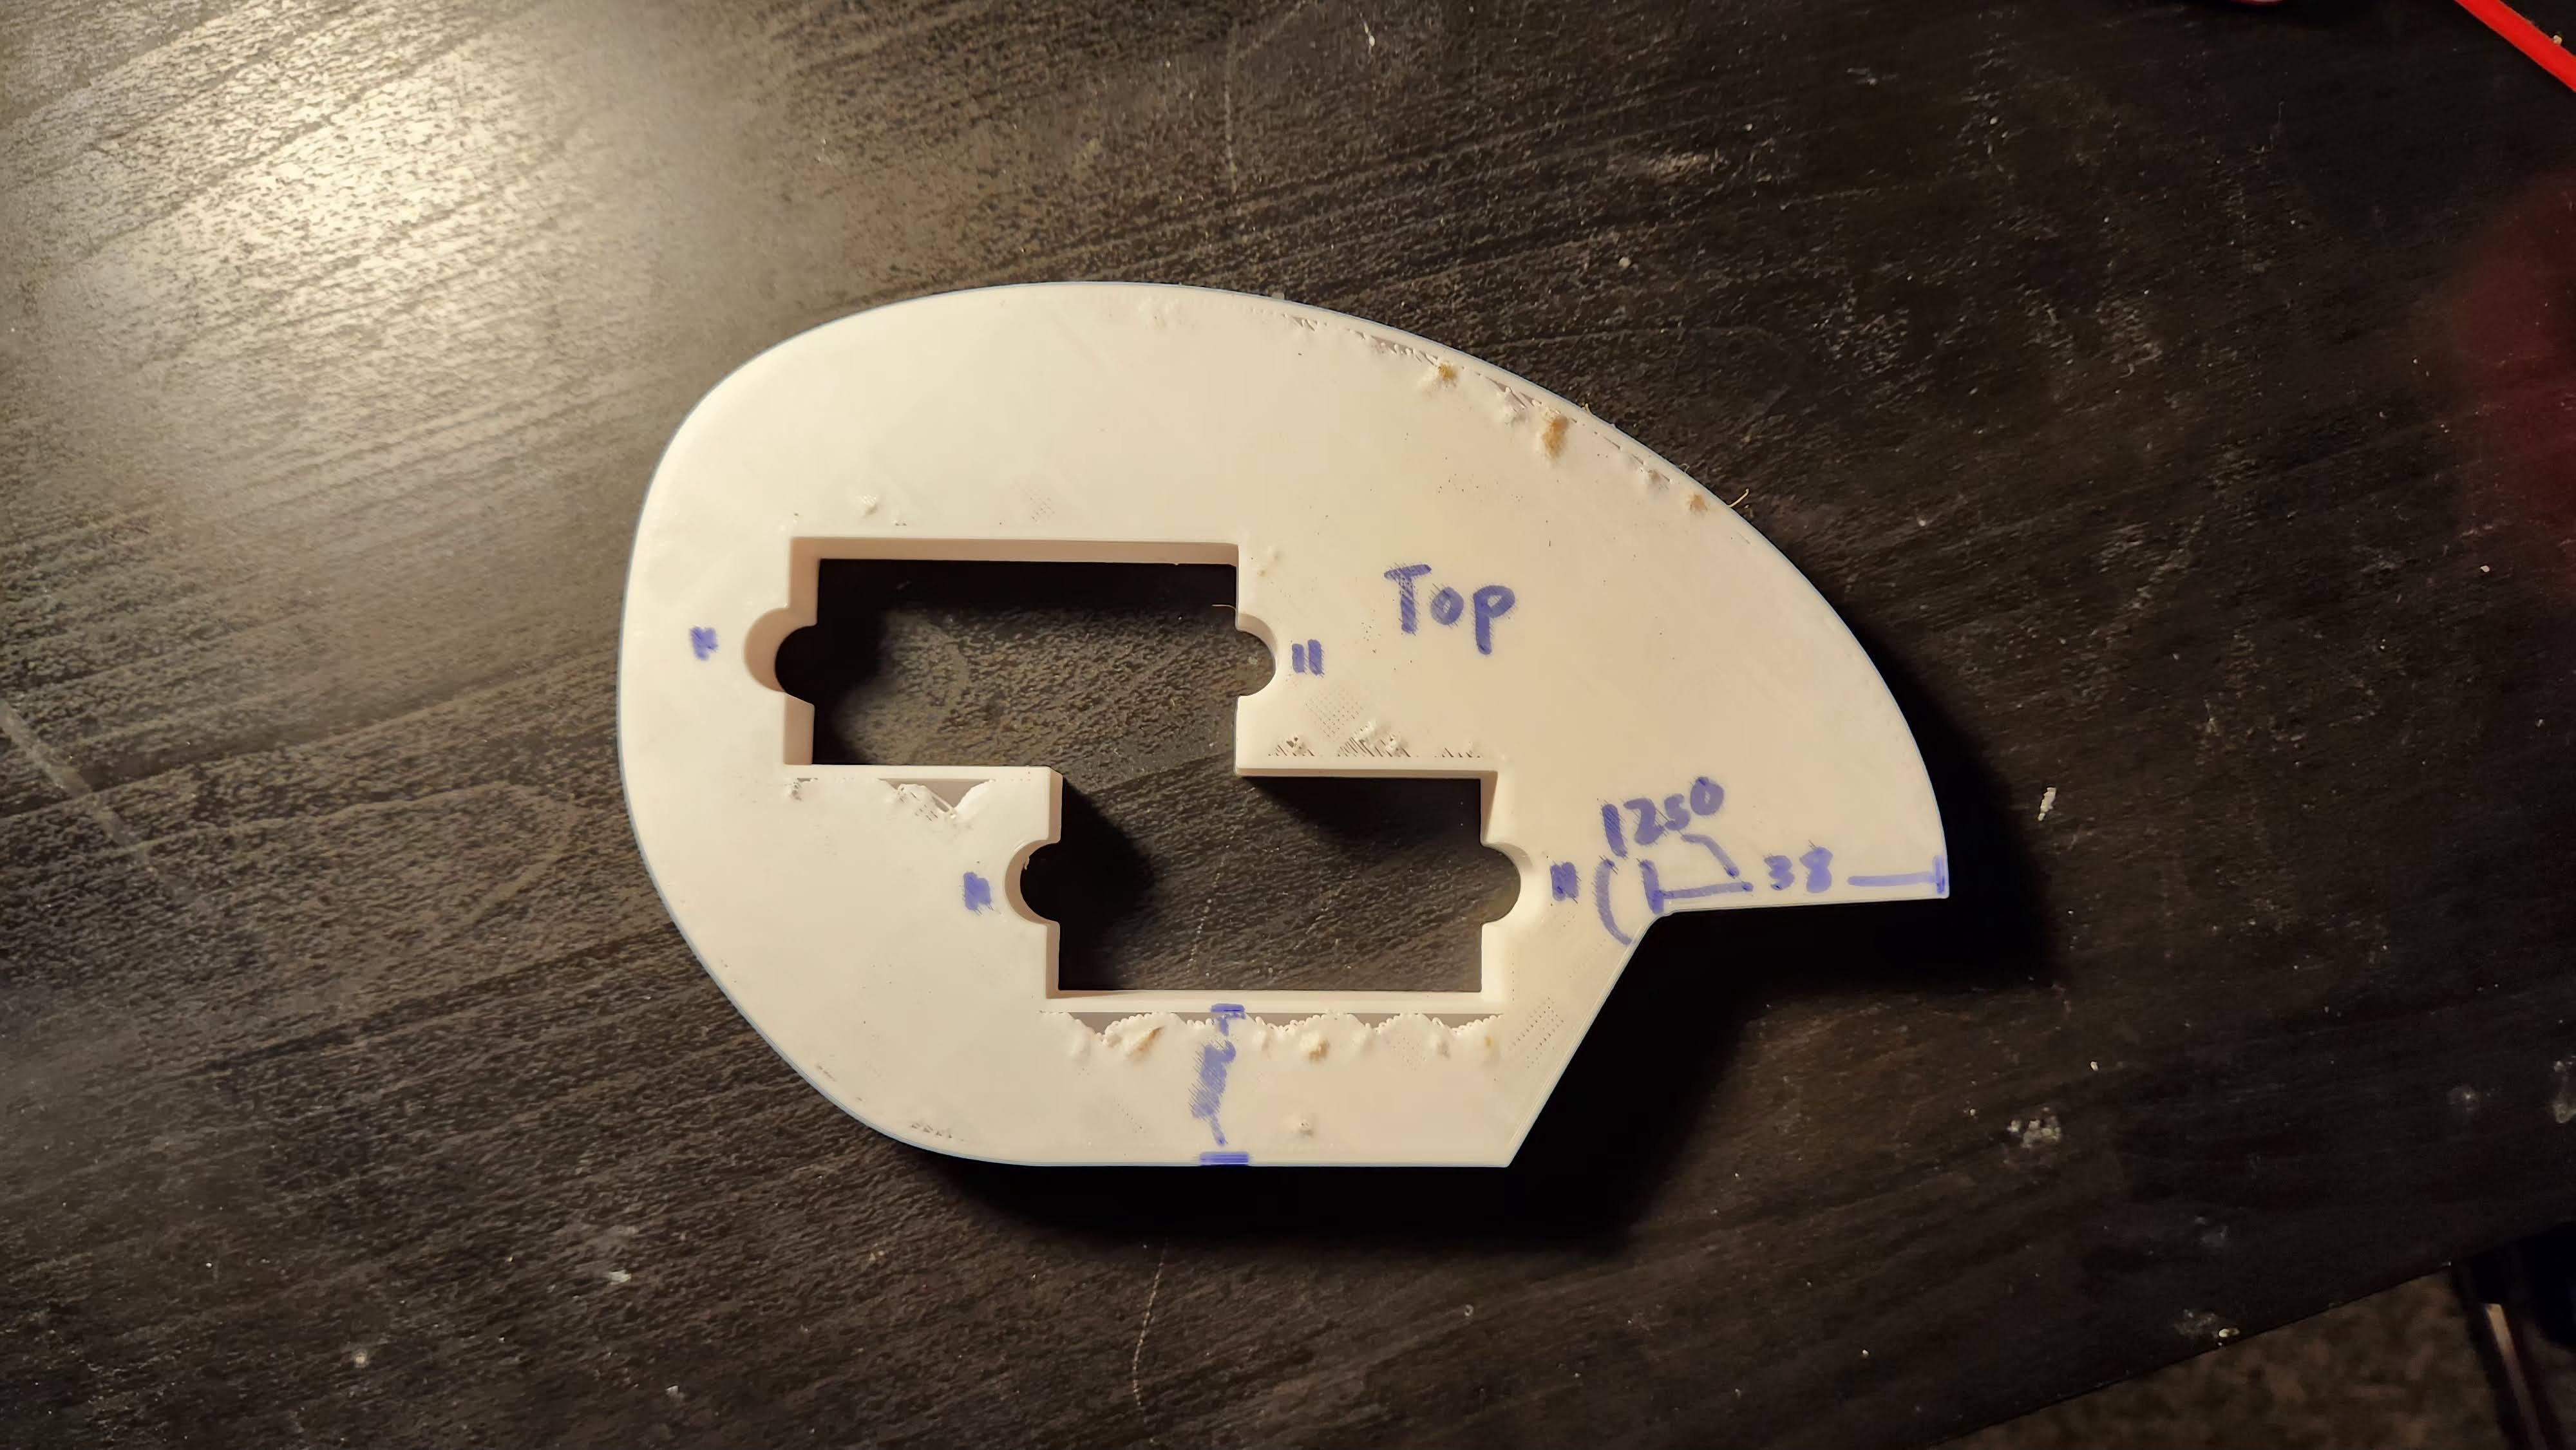
As you can see, my initial template was a little rough, but I am going to reprint that to fix the defects and have a nice template for actually working with.
Pickguard in Pearl
Initially I wanted to have a pearl white pickguard. I’m still planning on doing that, but I have some practice to get through before that’s finalized. My 3d Printed template is good, but I’m experimenting with the pickguard material to figure out how to best work with that material.
A dremel with a cutting disk probably isn’t the best tool for the job. I will pull out my jigsaw, to make the rough cuts, and then use the trim router to get it to match the template. I’m also going to try using double-sided tape to hold the template in place, since that should get in the way less than clamps. My big concern is whether the tape I got is strong enough to keep the template attached and not shift around while cutting.
Next Steps
With the balance feeling addressed (ankle weight on strap), the pickguard designed and 3d printed, there isn’t much left. I did a basic setup on the bass, and while I could get the tools and try to re-level and crown the frets, I’ll have to see if the playability really warrants the work for that. I’m also still open to different options on the balance, but that again comes down to how it feels to play, and I have a lot of playing to do coming up.