
While playing with my work band, I found the need to have a synth sound for the bass in 99 Red Balloons. Try as I might to recreate it with my multi-effect unit, I couldn’t quite get the sound right, which led me to research synthesizers. While I don’t have confirmation of this, I believe that Goldfinger’s recording of 99 Red Balloons used a bass synthesizer for the “Pow” sound going into each instrumental break-down.
While researching options for a pedal-based synth, I found them to be unreasonably expensive. For around $500 you can get a set of MIDI bass pedals, but they don’t have any synthesizer built-in, which can run you another $500 to get things dialed in just right. I also like to run my sounds with patches and presets that I can stomp on to select, which doesn’t seem to go along with how these midi pedals are designed.
With me finishing up my bass build, I decided I should try my hand at building my own Bass pedals with a built-in synthesizer. I want to try to keep the same flow I have with my Valeton GP-200 where I can stomp to switch presets, and have some options for minimal configuration on the unit, but the goal is to pick a preset sound, and be able to play, and not have to dial things in every time between songs.
The Plan
I spoke with my mechanical engineer turned product manager brother about this project since I was worried about finding a good switch that I could stomp on, that also felt more like a piano pedal. After some discussion about prototyping, and the durability of 3D printing, he suggested I just get started prototyping things simply and see what works with a variety of switch options.
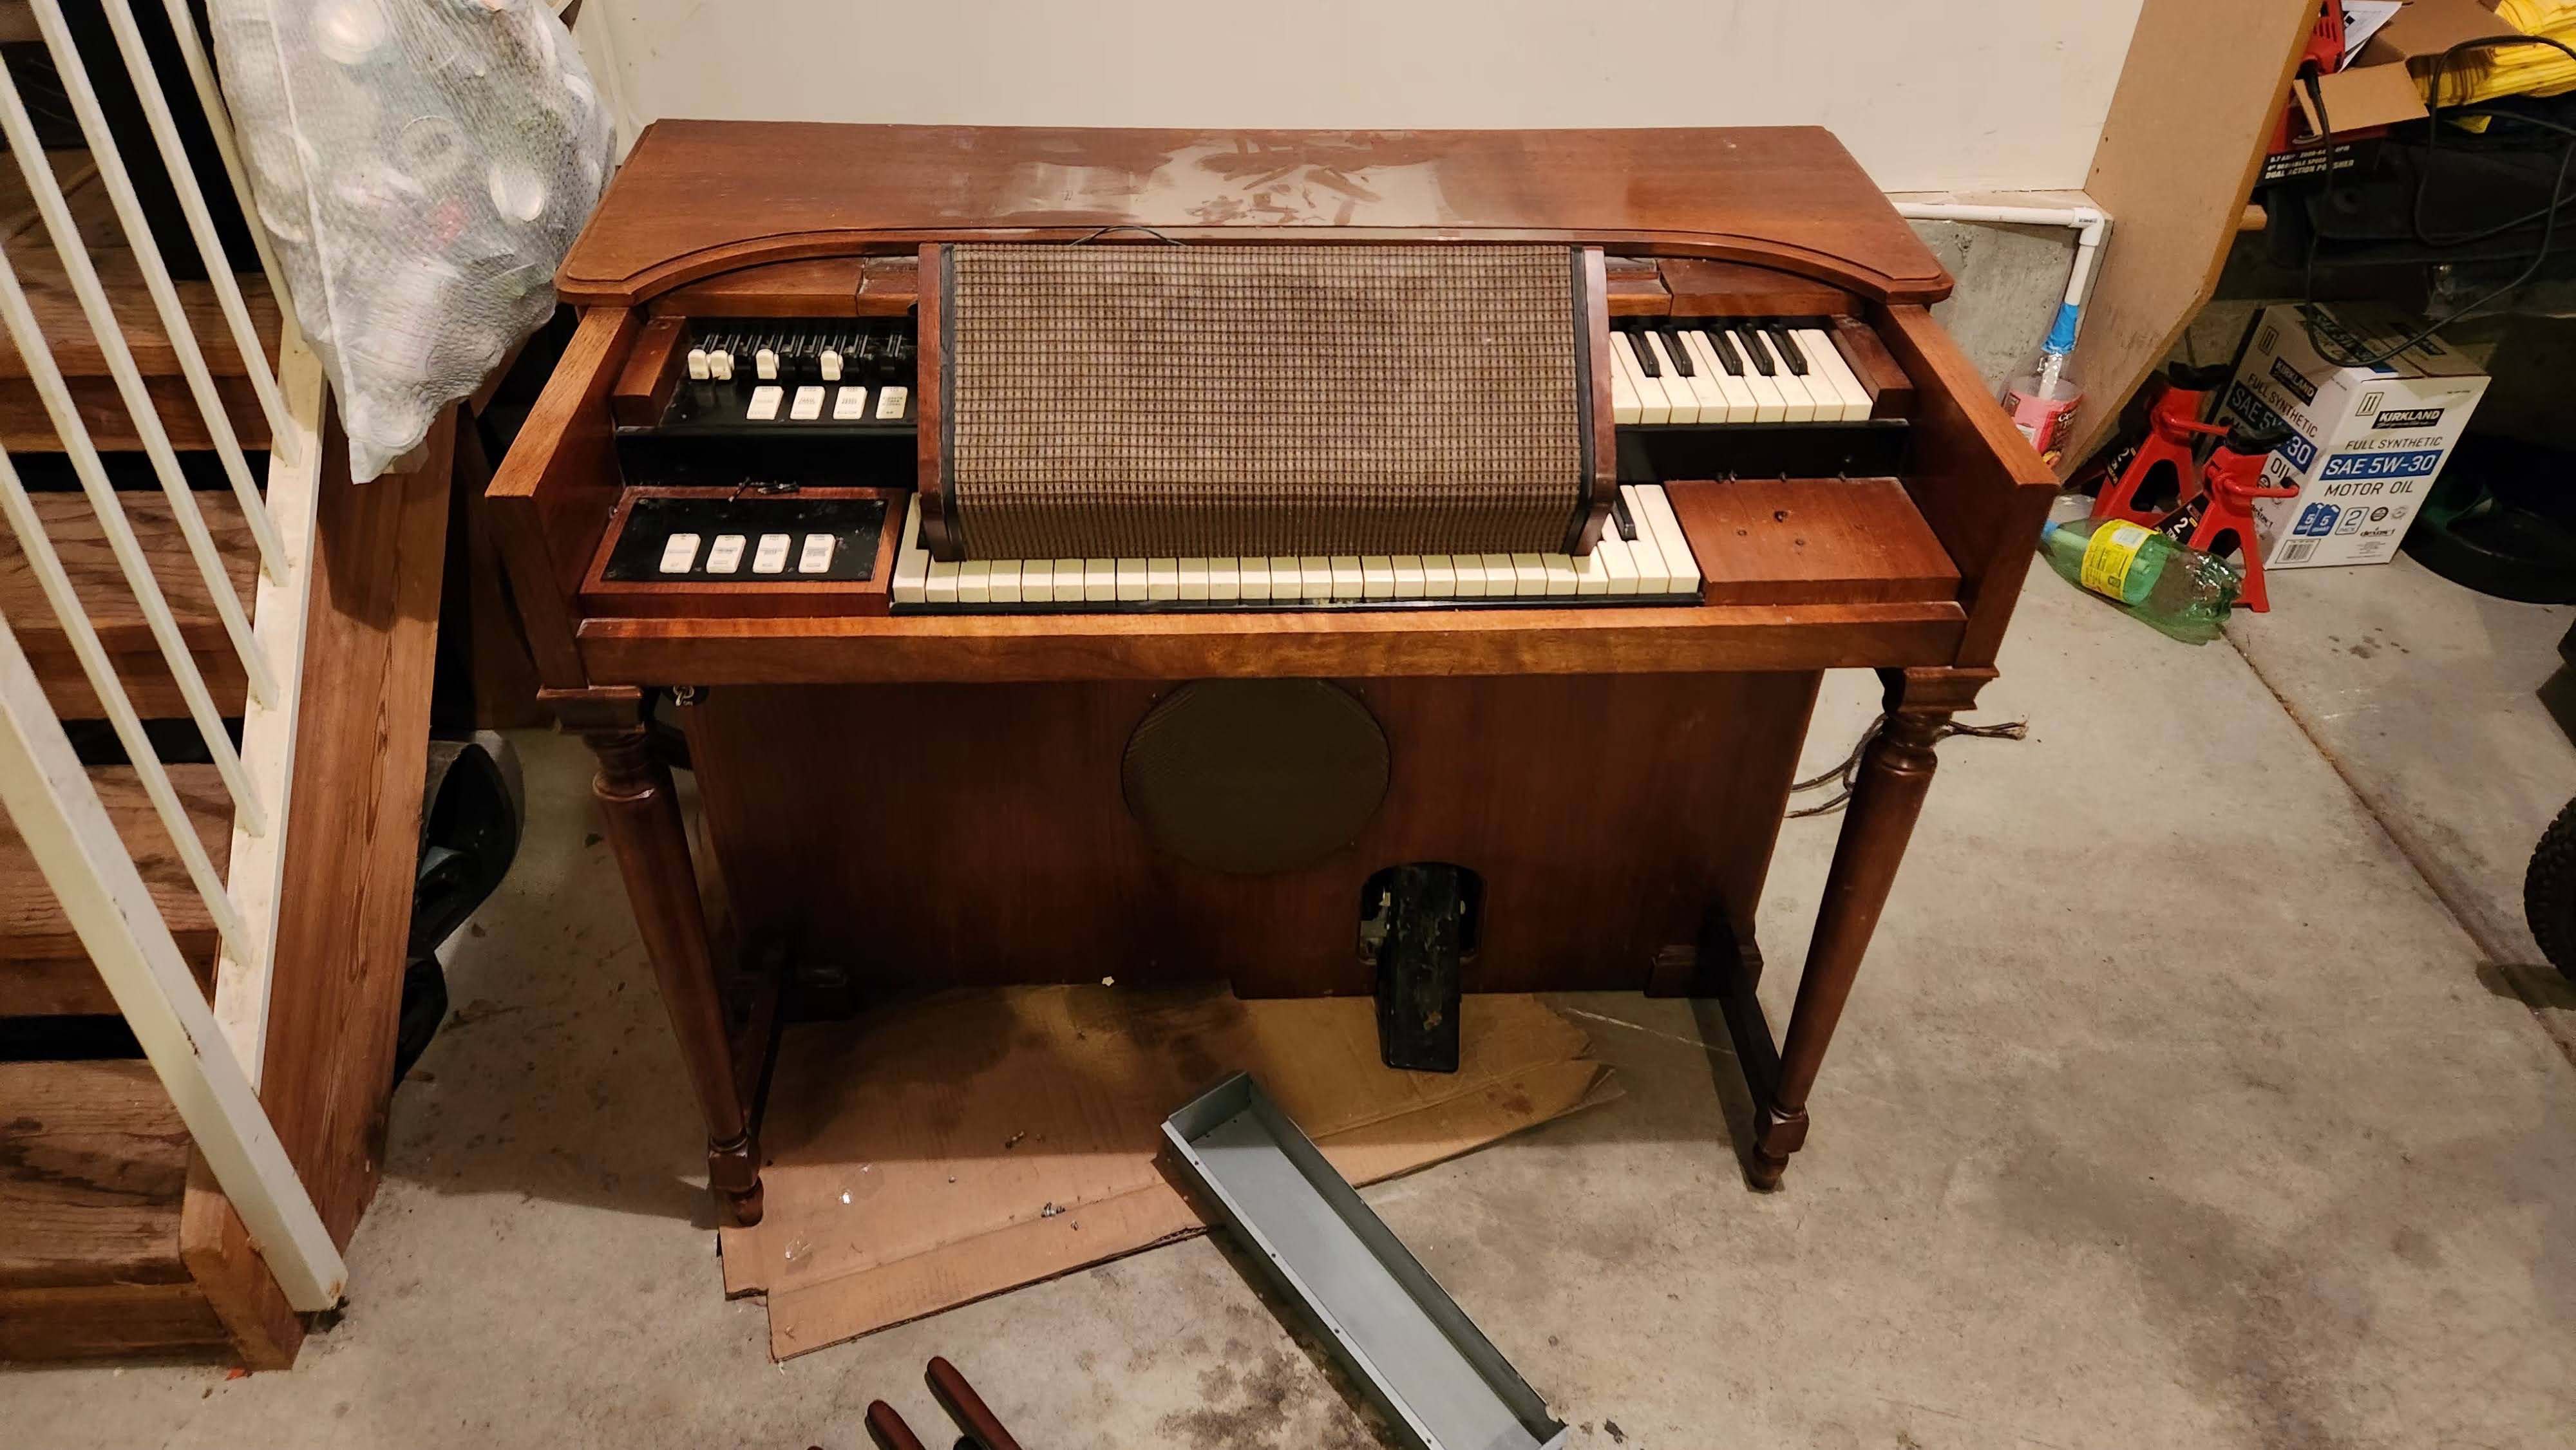
That night, I realized that what I really wanted was some organ pedals with stomp-box switches on top, so I should really just rip some pedals out of an organ. With that plan in mind, and some basic circuit ideas, I set to work designing the layout of things, and scouring Facebook Marketplace for a free organ to rip apart. I found one that someone would pay $20 to get rid of, and jumped on it. It was heavy, but I figured most of that was probably the circuitry I saw exposed in the back, and wouldn’t be too bad.
This was not really the case. While that did account for a significant amount of the weight, this Hammond Organ is the Hammond M3 Analog Organ. For those unfamiliar, Electric Organs can be digital or analog. Newer, cheaper organs, like digital pianos, have simple switches in the keys which tell a little computer which sound is being played. Analog organs have contacts which change the circuitry, allowing a sound to be generated by a tone generator. This being an analog organ, the pedals alone weigh around 30lbs due to the steel construction, and large circuitry.
A Box of History
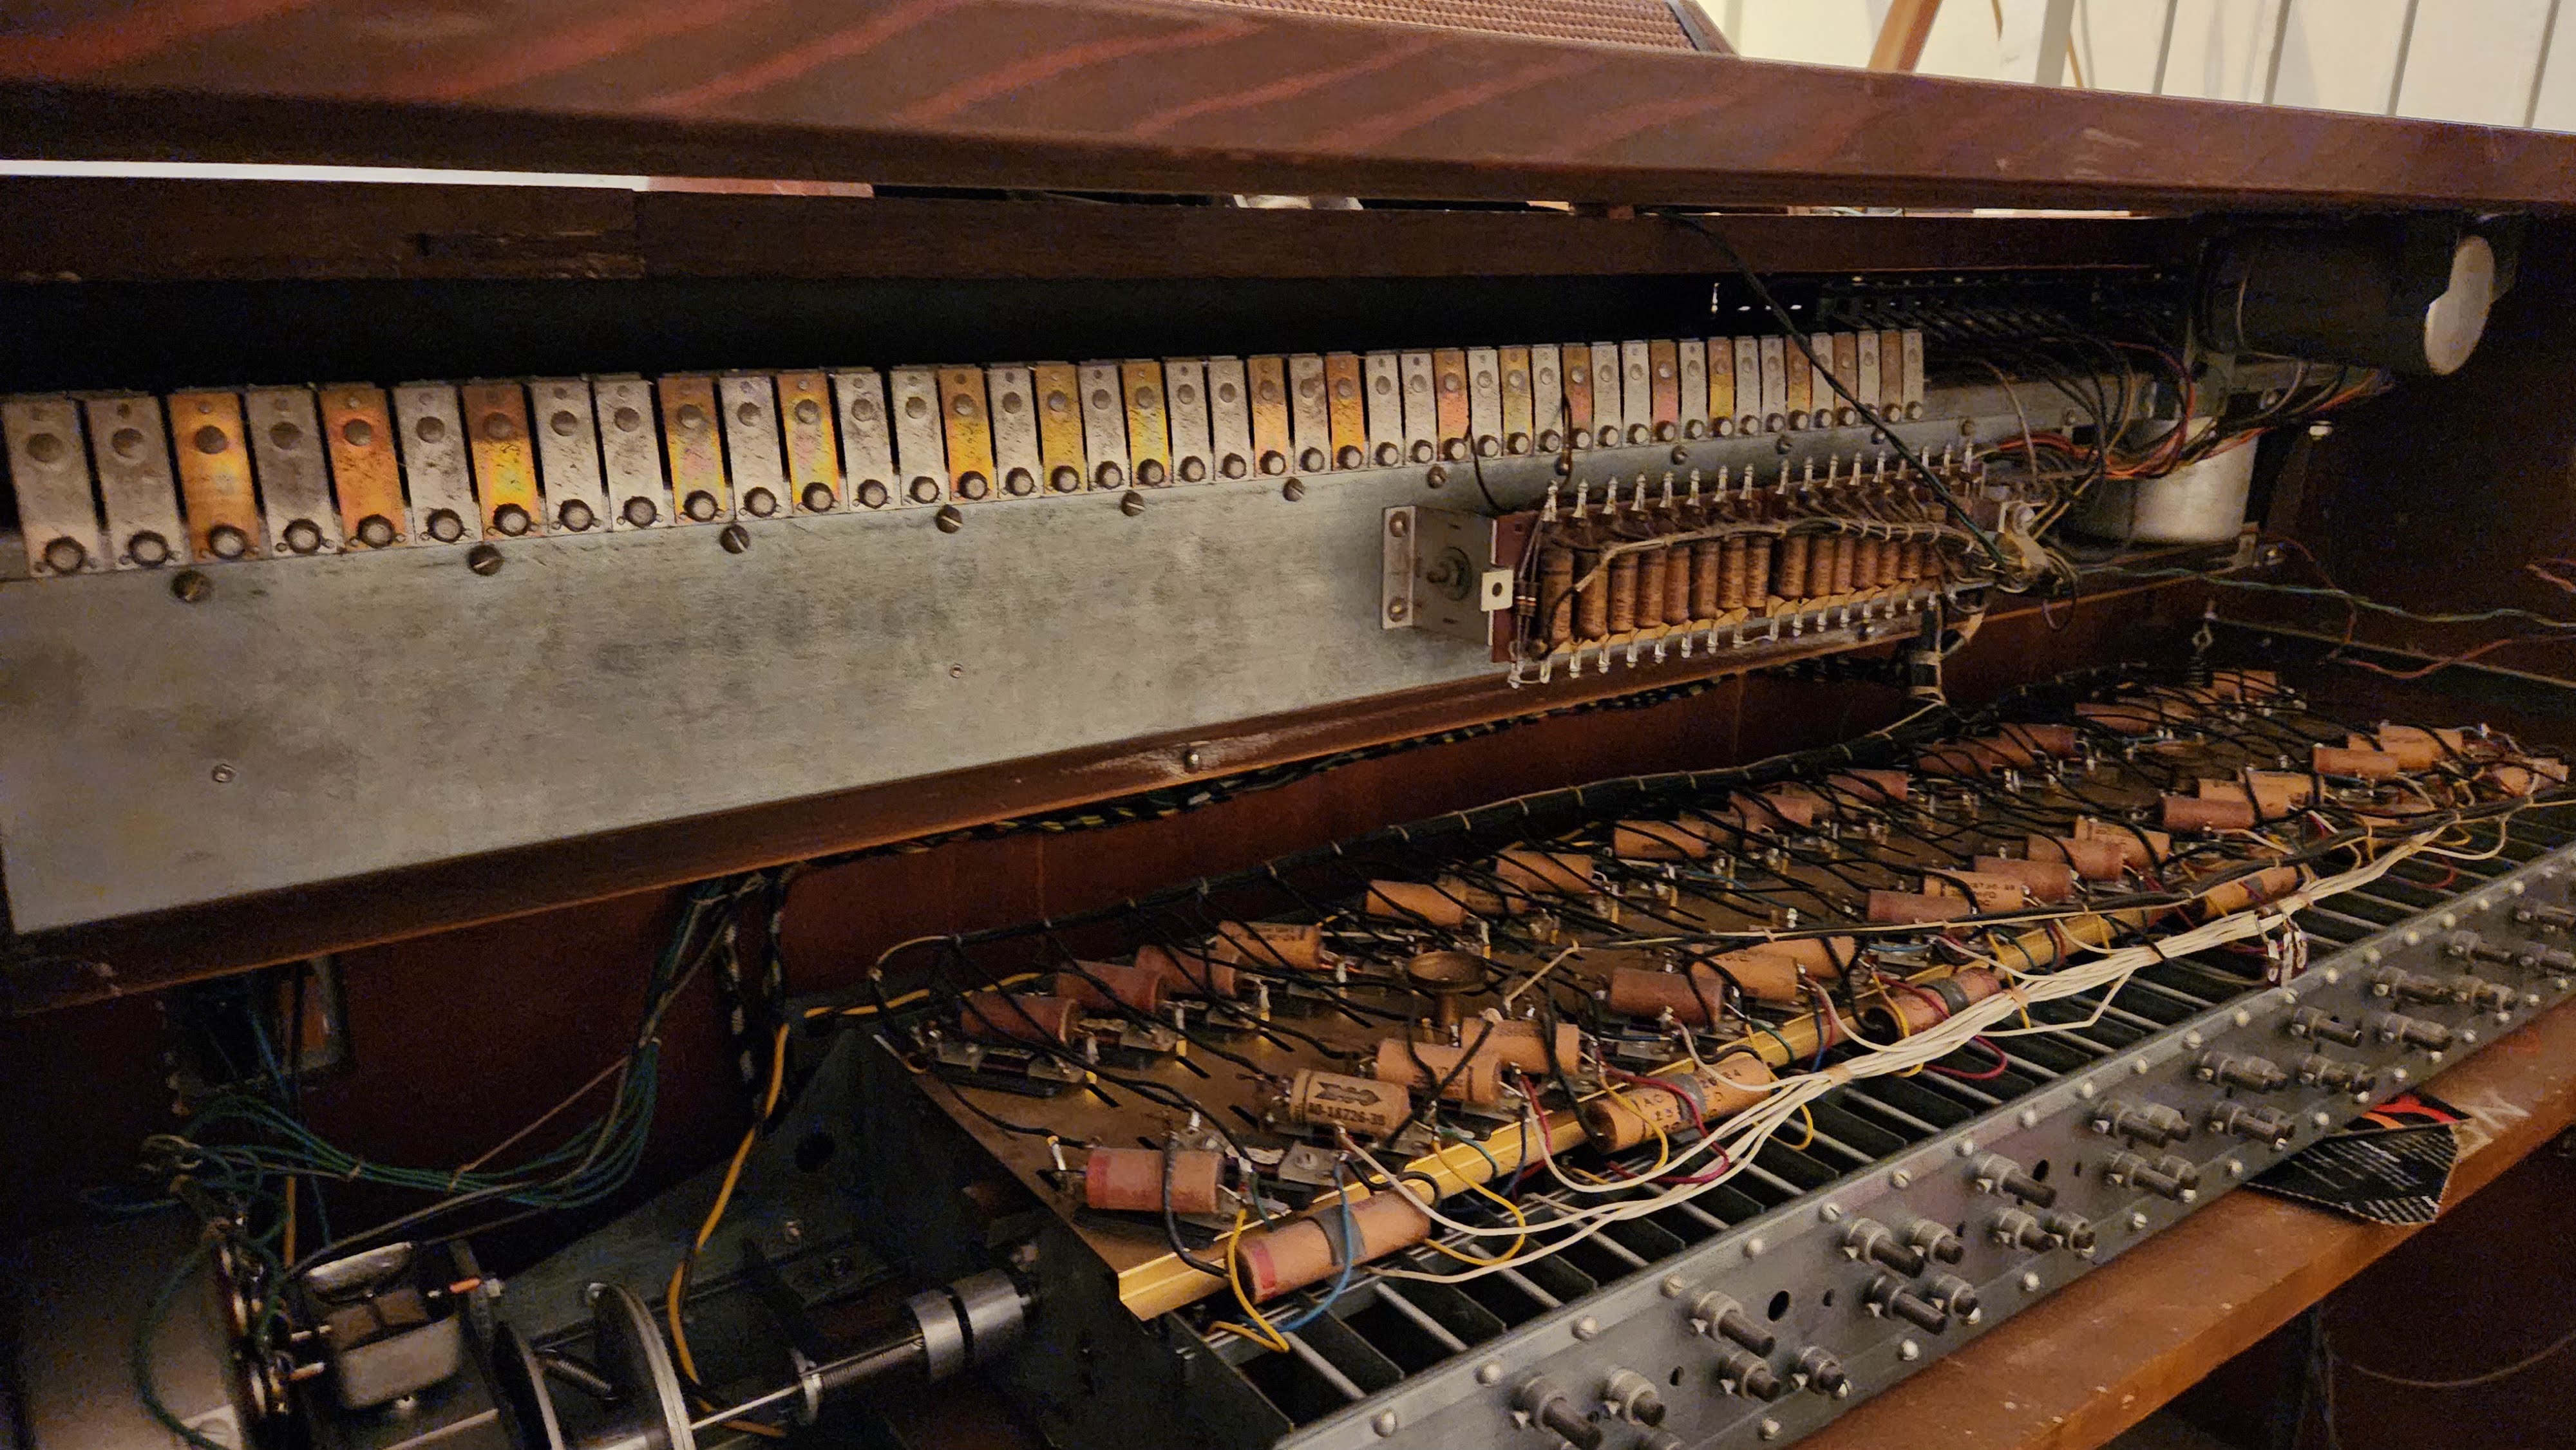
As I started tearing things apart, I realized there are lots of useful components in this organ, and I probably shouldn’t have been so aggressive clipping wires to get things out. The Hammond M3 that I received had two speakers, a tone generator, an analog Vibrato, and 2 tube amplifiers. I saved the tube amplifiers and speakers (future project?), and the pedals, but since the organ wasn’t in working order before, and appeared to need a recapping job which no one near me seems to want to do, I decided the rest can be scrapped.
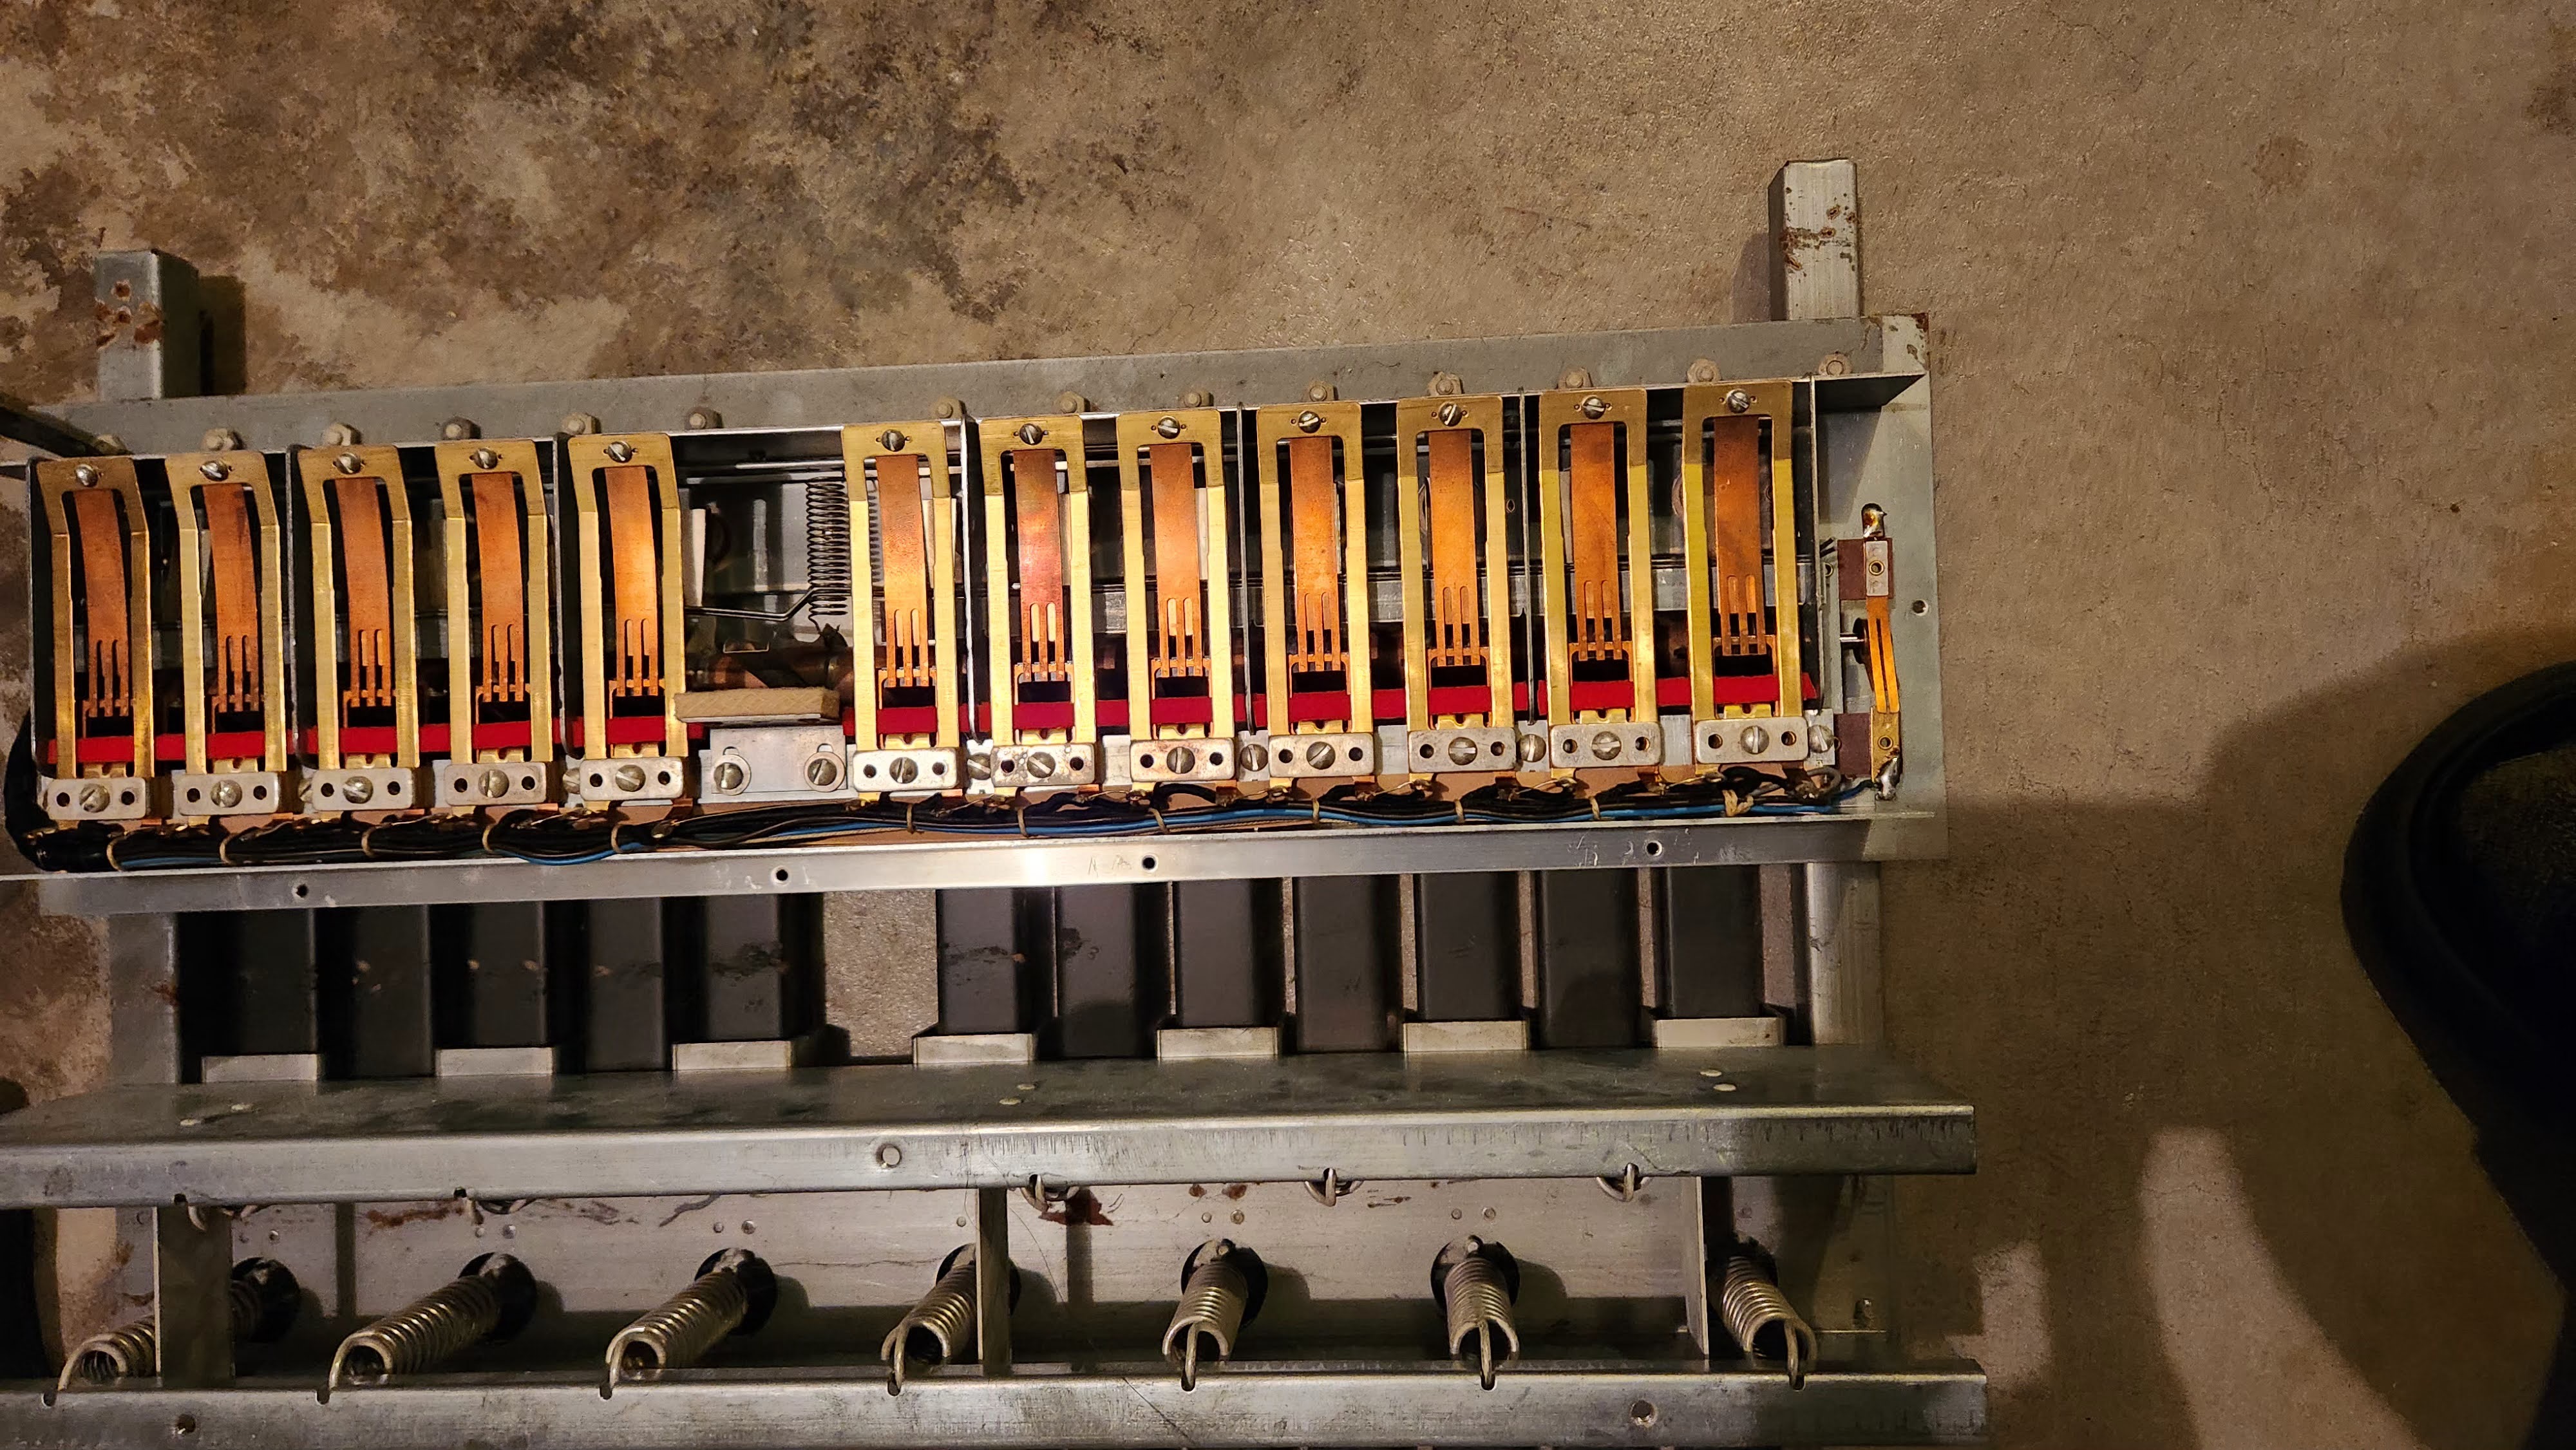
This is a fascinating box of history though. When I tore the pedals out, I expected to have a single wire dedicated to a digital signal for each pedal, along with a voltage and ground line. This assumes that the pedals were wired in parallel, however, which they are not. On the Hammond M3, the pedals are wired in series. This has 2 major implications for my project, first, these pedals are currently wired to be monophonic. Without rewiring things, I can only detect the lowest note being played. This likely won’t be a big deal, but it was something I learned. Second, the logic for decoding which pedal is pressed is more involved then checking a pinout reading. I will need to decode the values of several pins to determine which pedal is pressed.
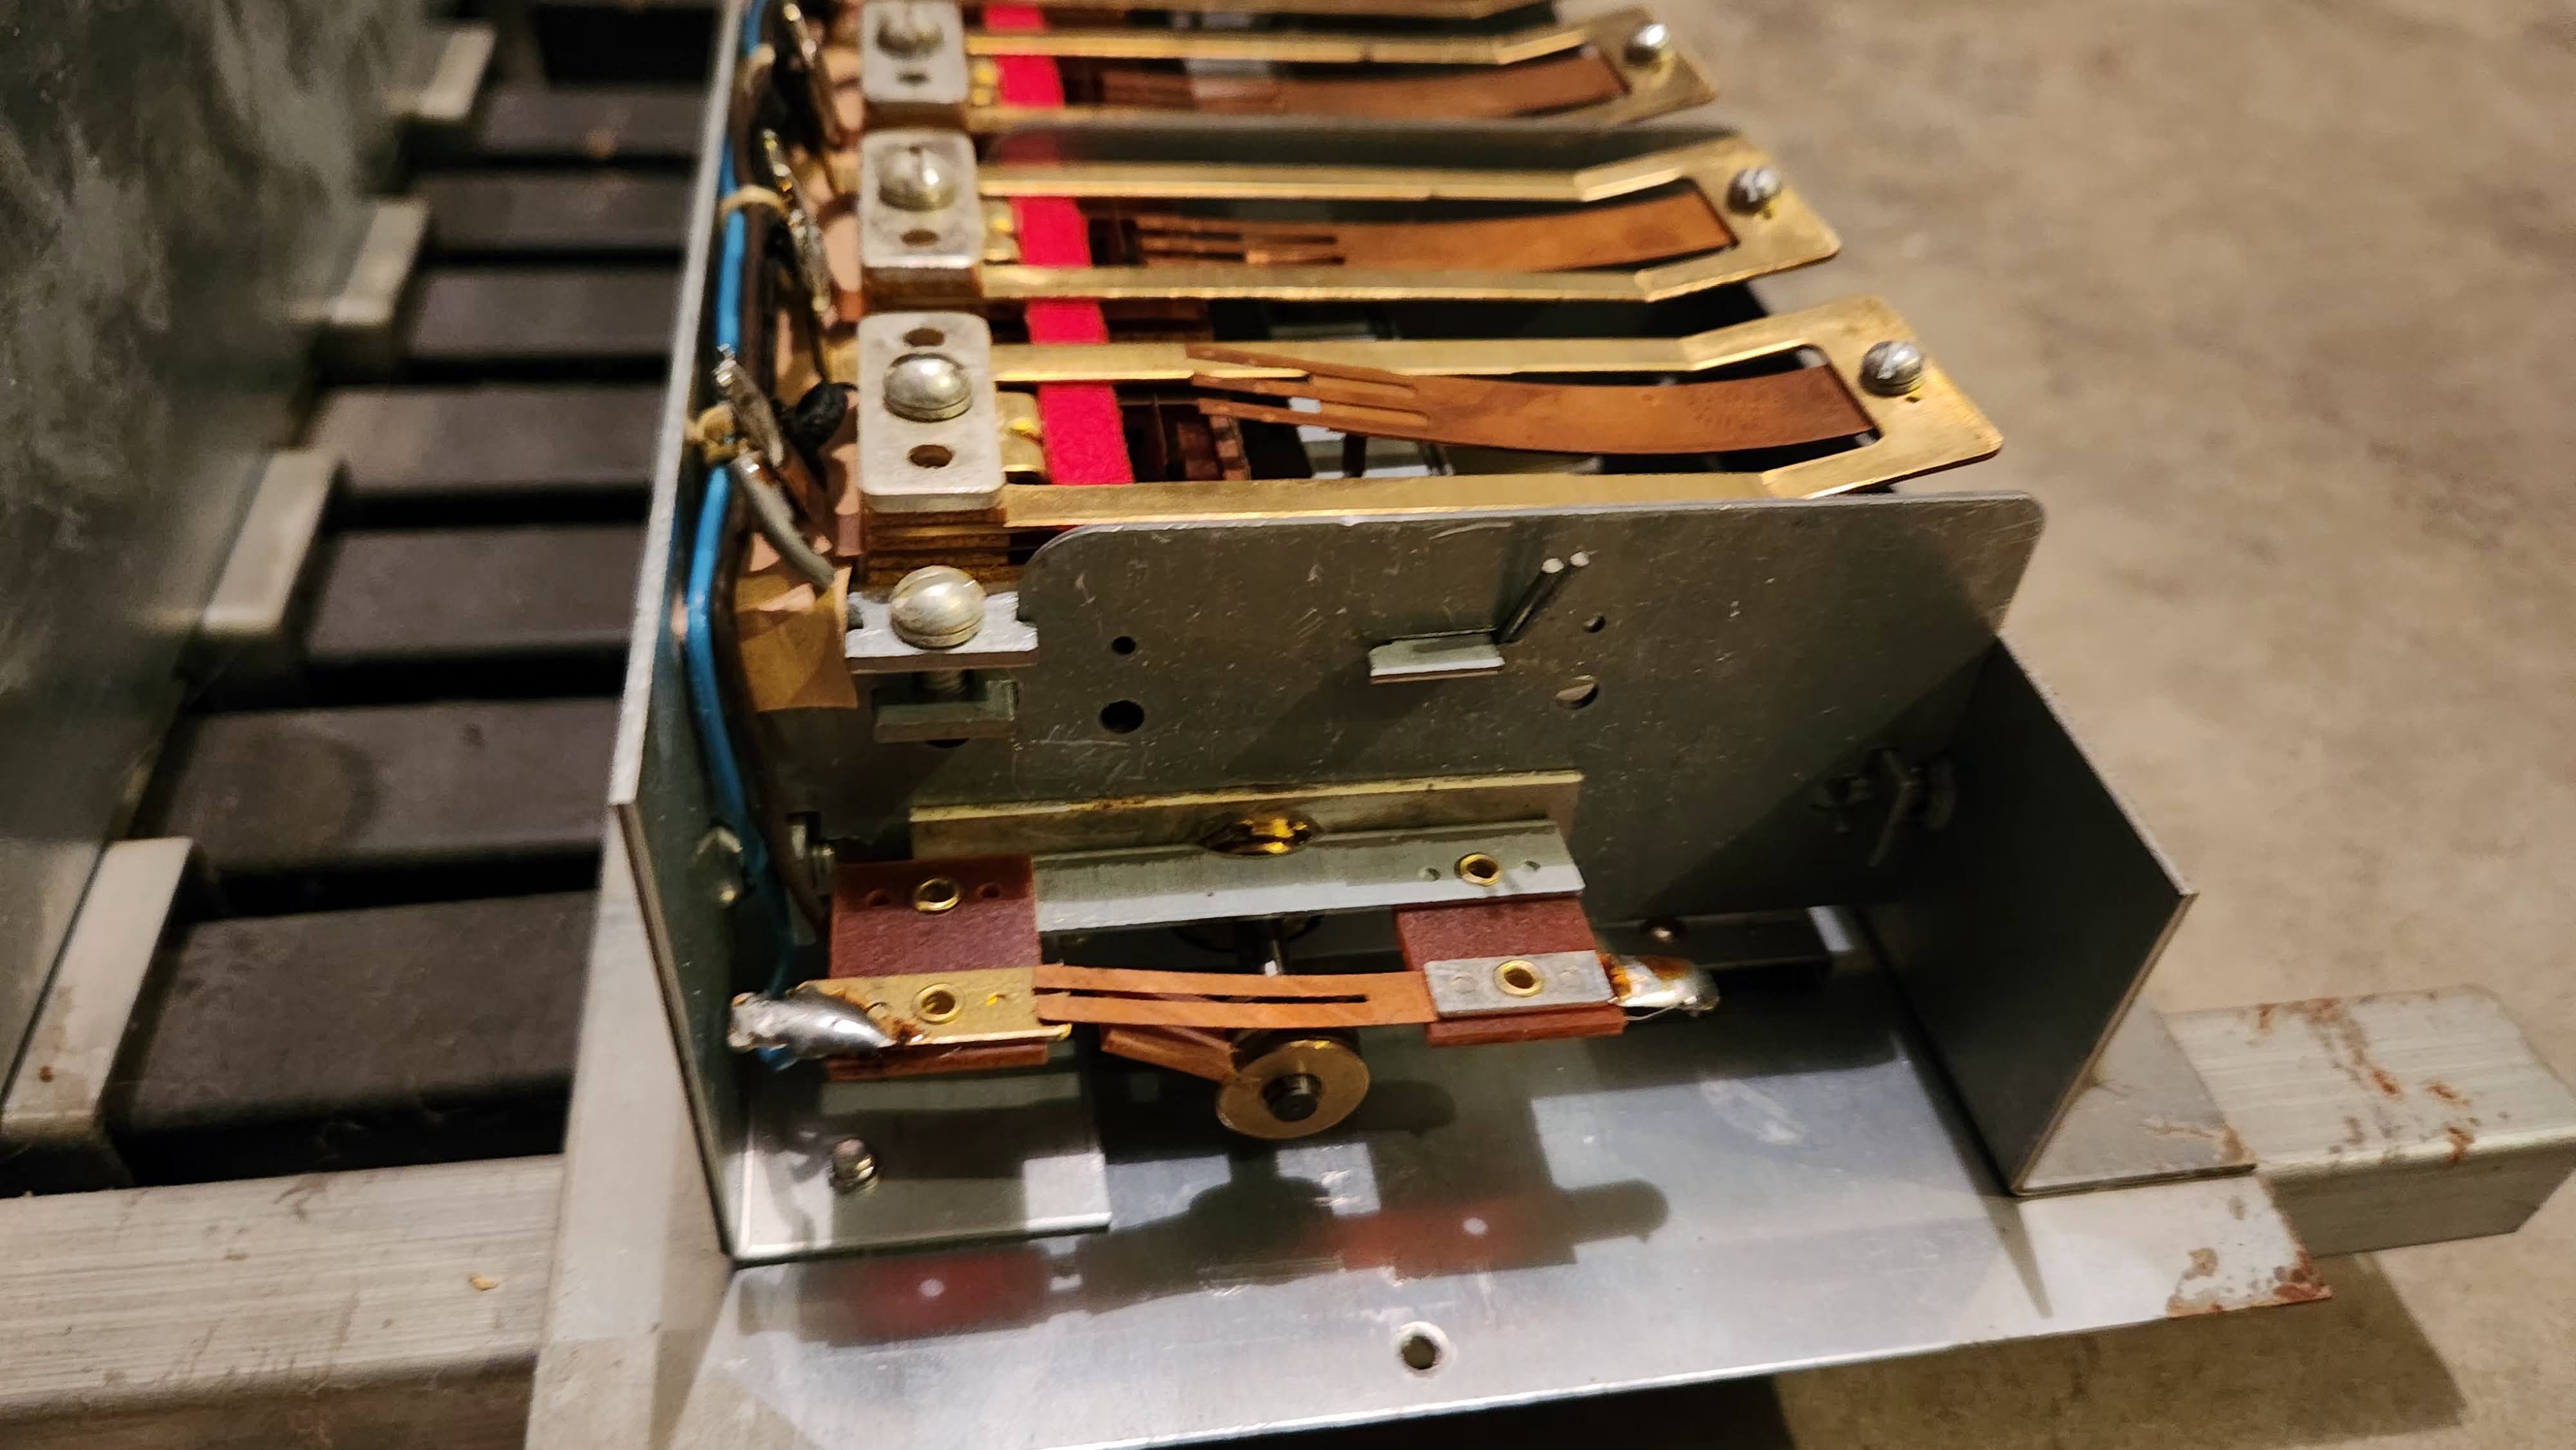
Another thing I learned about the pedals is that they are wired to keep the last pedal pressed open until another pedal is pressed. This may seem odd initially, but what this allows the organ to do is implement a simple analog decay, where the circuitry can have a variable decay on the note after it has been released. Instead of immediately cutting of the tone and worrying about debouncing the switch, this organ will release the sound after a configured time giving it a more natural sound. While this is cool, it gives me one more thing to check, and more wires to interact with, as I will need to not only decode which pedal is pressed, but also need to check another pin to see if a pedal is still pressed, or if it has been released.
The more I studied and learned about this organ, the worse I feel about tearing apart such an incredible piece of engineering and history. It’s such a special instrument, and I wish I could was in a position to restore it to its former glory, but I’m not. So repurpose it, I shall.
Next Steps
With the pedals torn out, I need to work more on the circuitry, getting the pedals first working with MIDI to send messages, and then start working on the synthesizer. Because of the pedals’ weight, this might turn into a prototype, with the final build being a custom set of plastic pedals in a lighter encloser, but we’ll see what lessons the rest of this project gives me.