
I’ve played the bass for quite a while but I’ve been primarily playing on an Ibanez SR300E. For those familiar with this bass, its a great budget option for beginners and has a variety of tones you can get out of it by splitting the pickups, balancing them, and using an active pre-amp. As I played more and more, however, I realized I wanted a good P-Bass tone. I’m also a big fan of the Jaguar basses and so I decided to start looking at Jaguars. I found the Fender Player series Jaguars, which are very nice instruments, however, I couldn’t quite justify paying the $800 to get it. Since I like woodworking (I’m not good at it, but I like it), I decided to build my own bass. I found a kit by Vibeworks on Amazon and Ebay that had a paddle headstock I could shape, and a body similar to a Jaguar, so I decided to go for it.
The Creamsicle theme is paying homage to my Grandpa Walker. I have fond memories from my childhood eating creamsicles with him in the summer and it reminds me of a time before I had the responsibilities, anxieties, and life problems that I now deal with. I still love creamsicles today and like the idea of a fun, childish theme for my bass, so it was decided. I picked up some orange spray paint from Home Depot, a couple of clear coat options, and set to work.
Headstock Shape
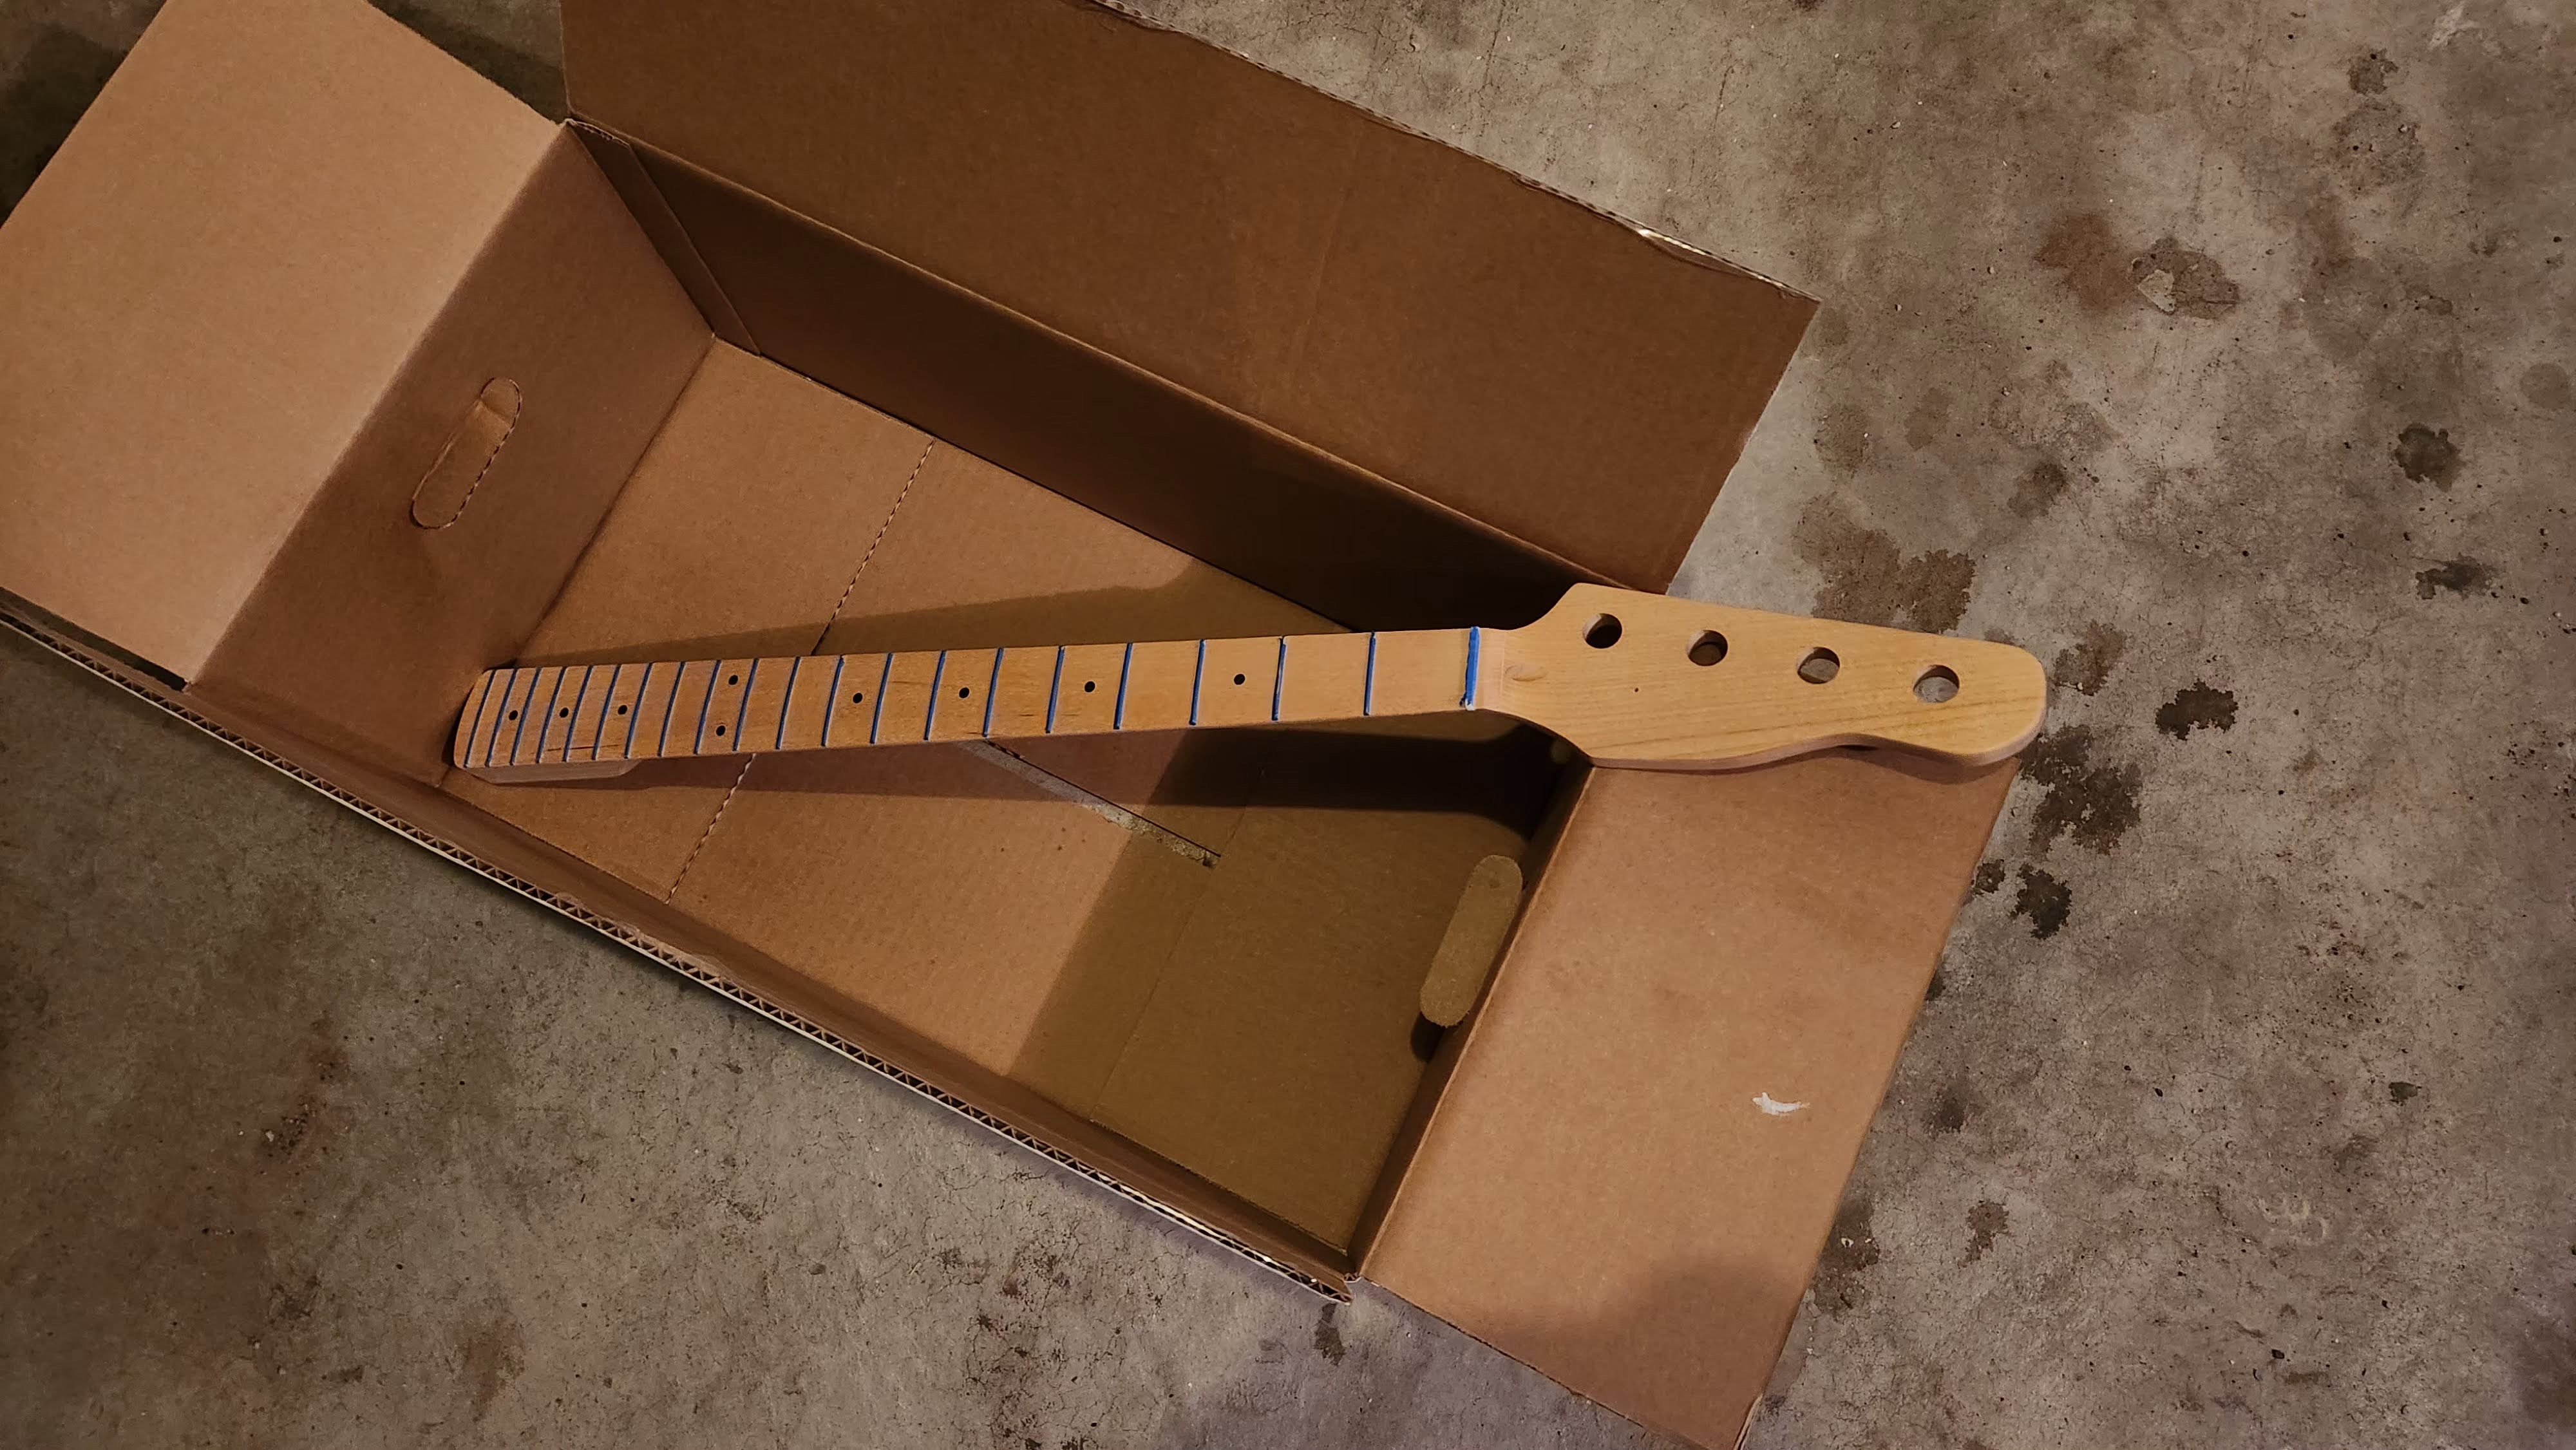
The first thing I had to do was figure out how to shape the paddle headstock. I was hoping I could cut it down to have the tuners on alternating sides, like an acoustic guitar, since I was worried about weight distribution with such a light body. As I started templating the shape with paper, it became apparent that this wouldn’t look good on this bass. I didn’t have enough wood on the end to feel comfortable with the tuners mounted the way they are. So ultimately, I went with a classic looking headstock that would kind of be a mix between a standard Fender bass and a Telecaster. I used a jigsaw to cut the shape and then sanded it smooth. I’m happy with how it turned out, but I wish I had replaced my jigsaw blade before cutting it. The blade was dull and it caused a lot of shaking during the cuts, which put some dents in the neck. They aren’t noticeable in playing, but they are there.
Sanding Purgatory
When I got the bass, I was prepared to do all the finishing work myself. I assumed (correctly) that a rough sanding would be done on everything, so I would want to prep it for painting by sanding it finer and fixing rough machined patches. I got the kit in the winter, so it was perfect. I setup in my garage and got to work sanding the body all the way up to 400 grit. There were several rough patches, but the biggest win from this was how smooth everything got. This took weeks of sanding since I was doing it nights and weekends, which means primarily sanding by hand.
What made things worse was the fact that they had fretted the fretboard, but it was still as rough as the rest of the body. To help with this, I taped the frets (not the fretboard, just the frets) and set to work sanding. The inlays looked like they were either black plastic, or died pieces of wood. They weren’t really shiny, so I felt fine sanding them down to make sure they were level with the rest of the fretboard.
Painting
I started out with some White Rustoleum Primer from Home Depot, and tried to add coats whenever it was warm enough. I did this for two reasons. First, I thought that I wanted to be safe, but I didn’t want to go through all of the work of sealing the wood for painting, so I made sure I had a good coat of primer on for the paint to adhere to and level out on. The second reason was if I decided to make the bass look road-worn, I could have white underneath, emphasizing the creamsicle theme.
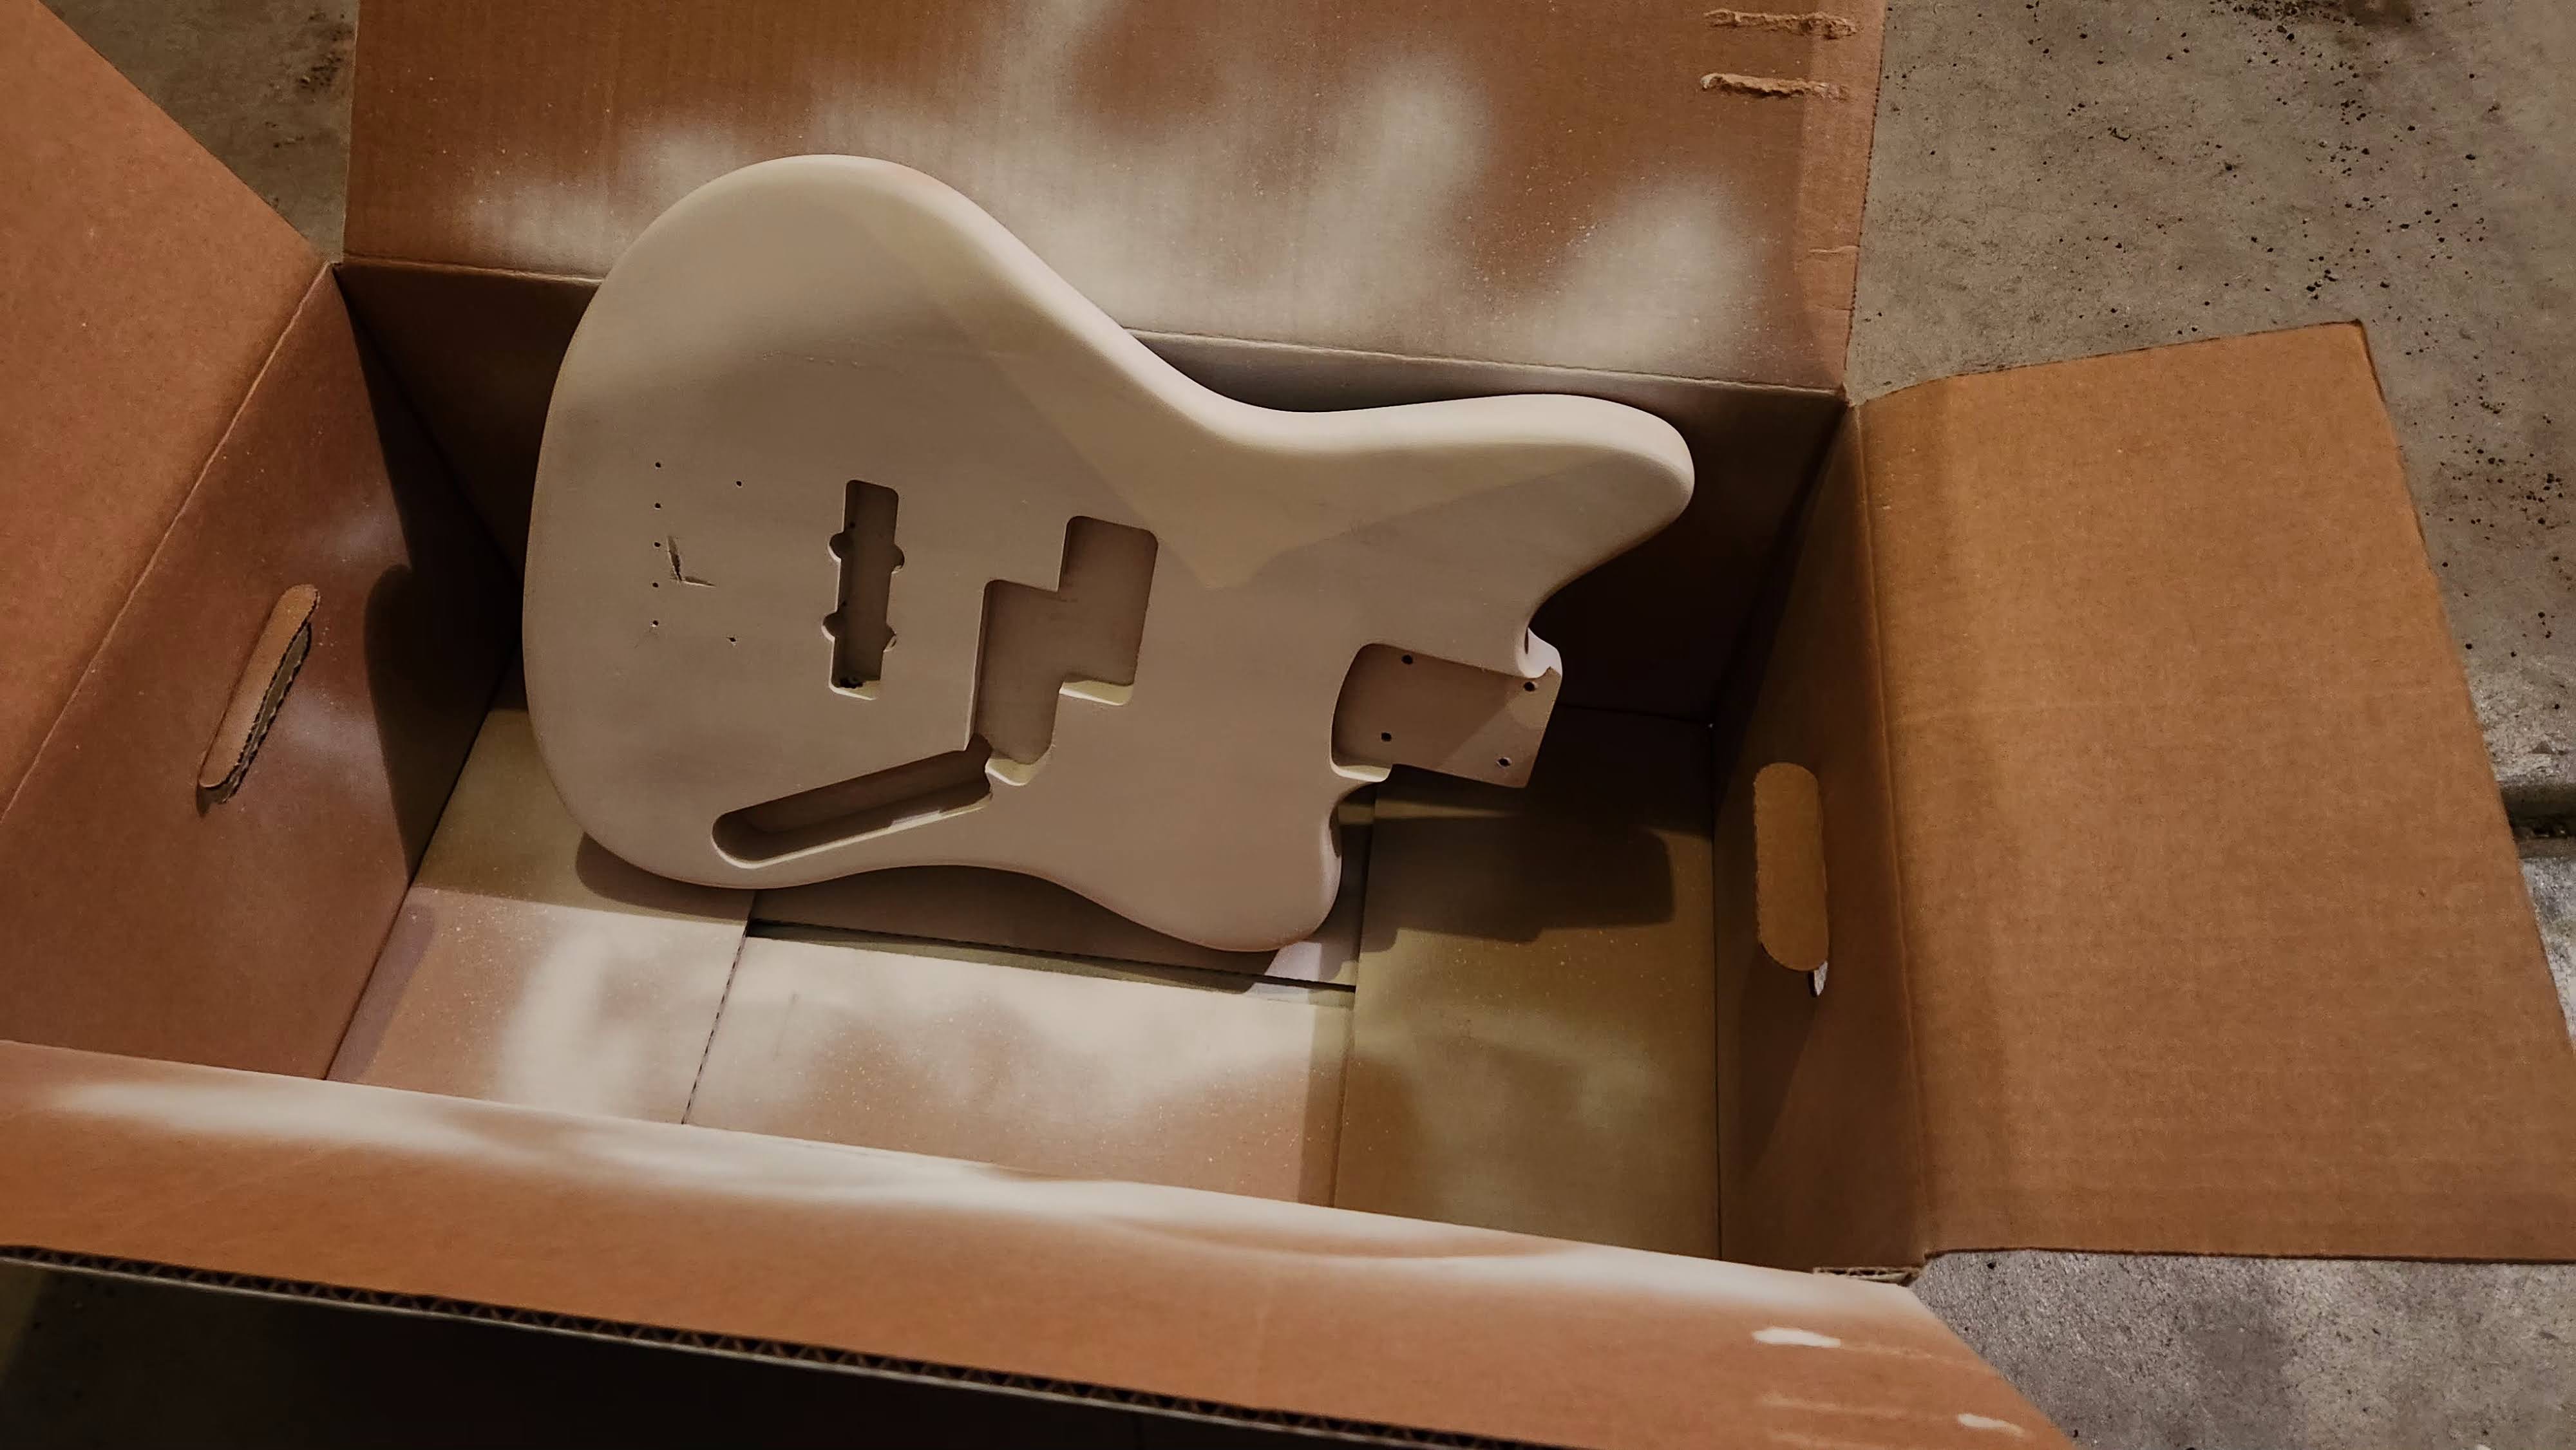
While priming the body, I learned an important lesson about painting without hanging. I was putting the body in a diaper box, and painting it in there, and while I let it dry for the time on the can, if I tried to paint both sides in the same day, I always ended up with the paint sticking to the box at least a little bit. So when it came to the color coats, I got some yarn (Its what I had) and hung it from my garage door track while painting. This worked out much better, and let me do a full coat over the whole body at once instead of needing to wait a day or so for things to dry.
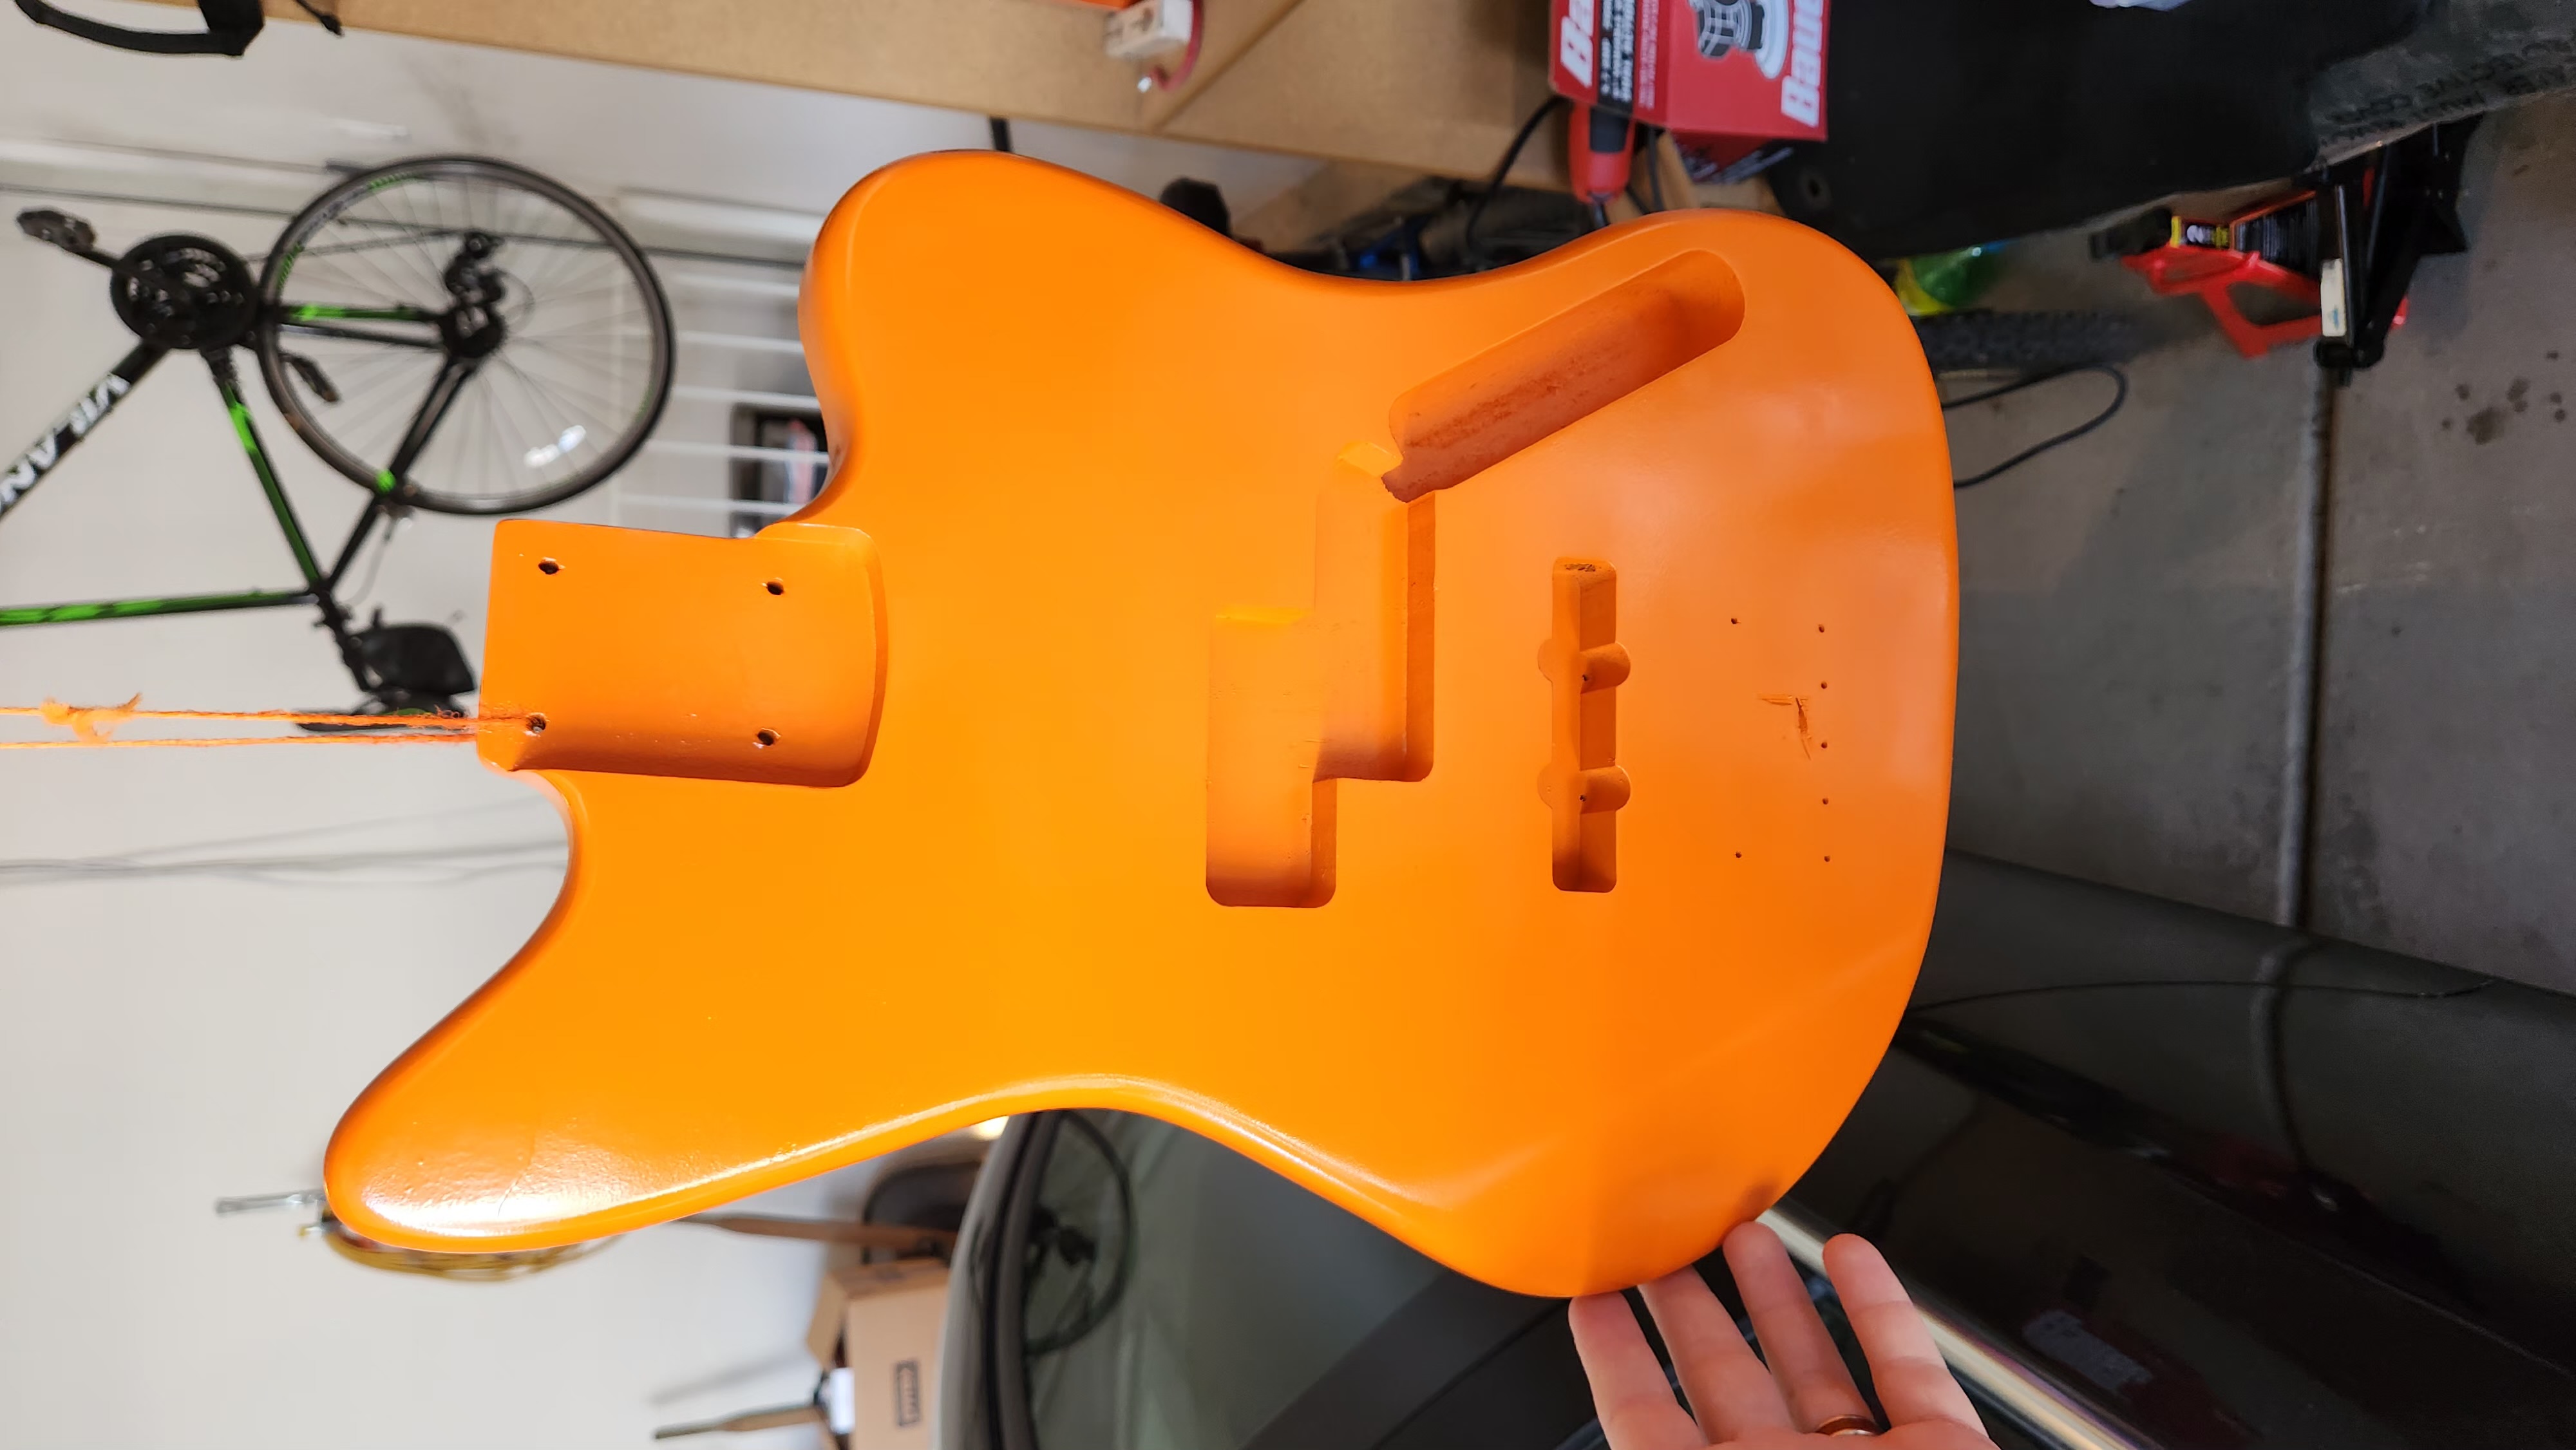
After getting several coats of color on the bass, I leveled out the paint with some 800 grit sand paper. Since this was my first time, I sanded too much in some areas and had to paint more, but eventually I got a flat coat of paint on there, and it dried so I was ready to get the clear coat on.
Clear Coat
Not knowing too much about paints, finishes, etc. I went with a crystal clear lacquer spray. I did a few coats of this, and then sanded it with 800 grit sandpaper. After sanding, I noticed some cracks starting to appear in the finish, and was pretty disappointed. After doing some research, it appears that this is common for lacquer finishes if you sand too hard, but I also suspected that temperature changes could affect that. To avoid this, I sanded the clear coat off, touched-up a few areas where the paint was thin, then used the oil- based polyeurethane that I used on the neck.
Not only will this be a stronger finish, but it also hasn’t shown any signs of cracking like the other finish did. I also haven’t noticed any discoloration, which was one reason I initially avoided the oil-based poly.
I sanded down the neck and body up to 3000 grit, and it feels really smooth. I did leave some imperfections on the body, because it gave it an almost sparkly look, which reminded me of the texture you sometimes get on popsicles. After that sanding it was time to polish, and everything was looking great! I removed the tape from the frets, cleaned them up with some fine steel wool, and wiped everything down and polished it one last time. Finally I bolted the neck on, started attaching hardware and got it put together.
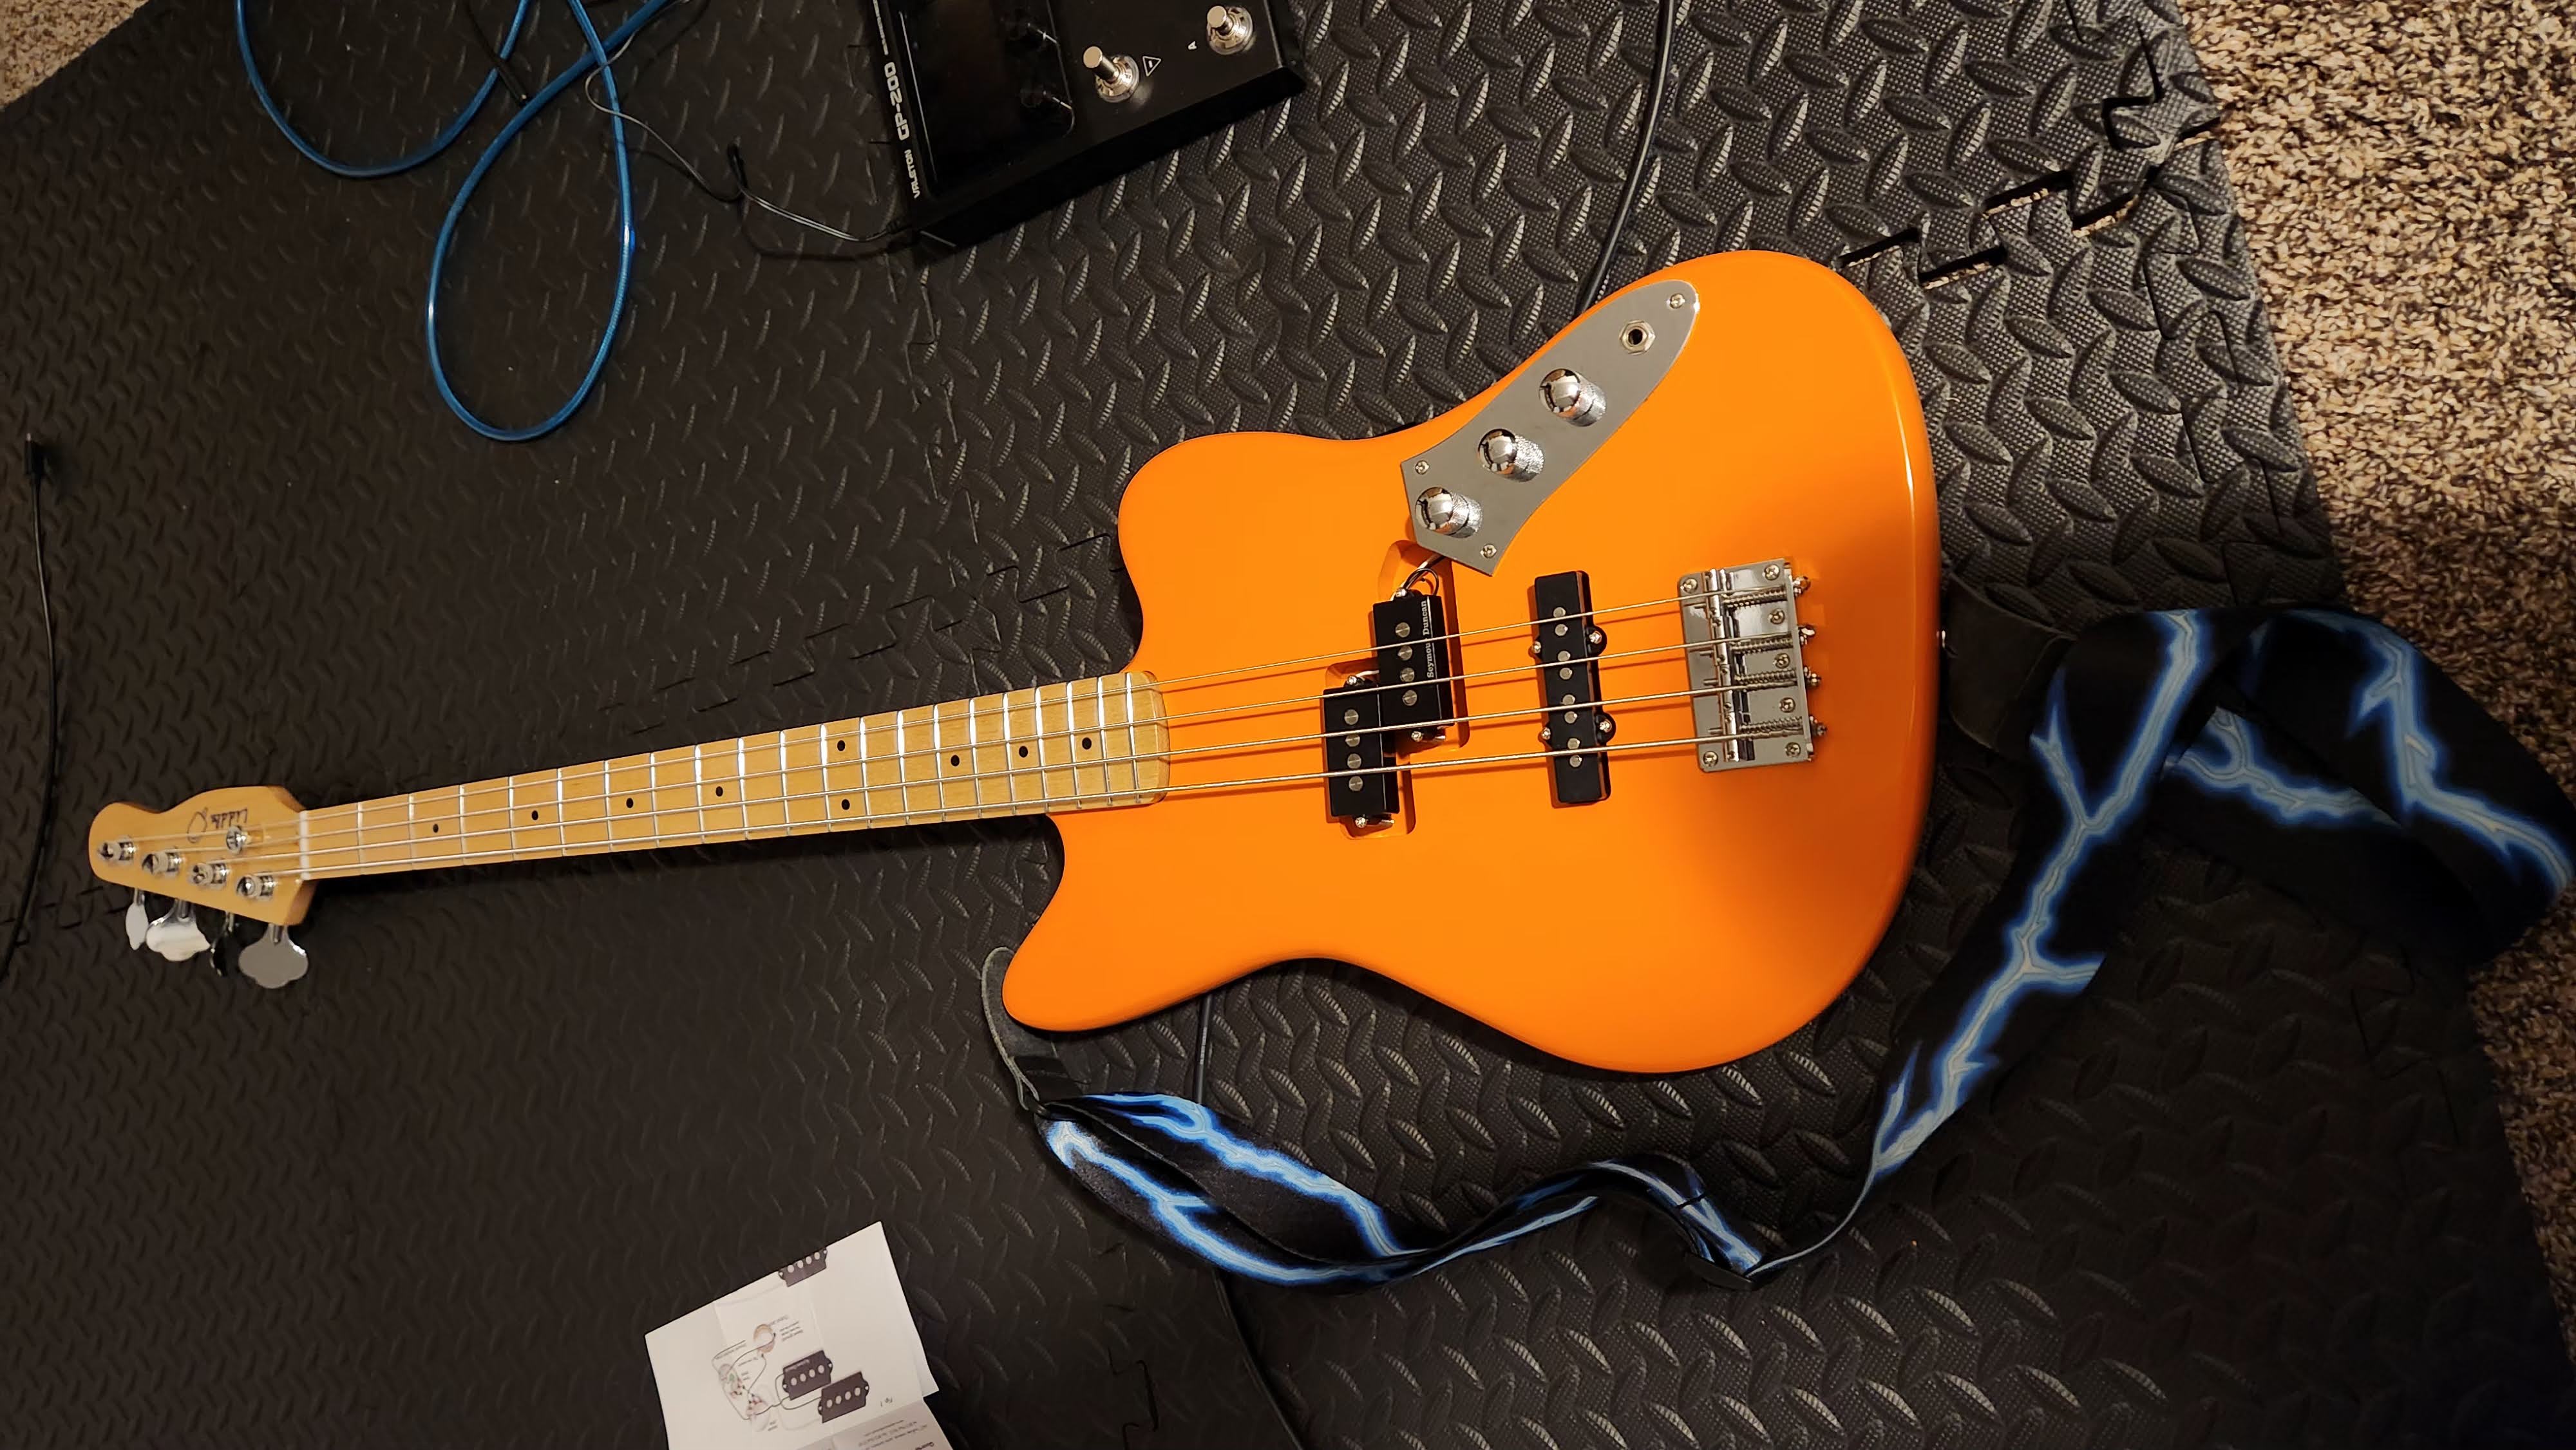
QA Issues
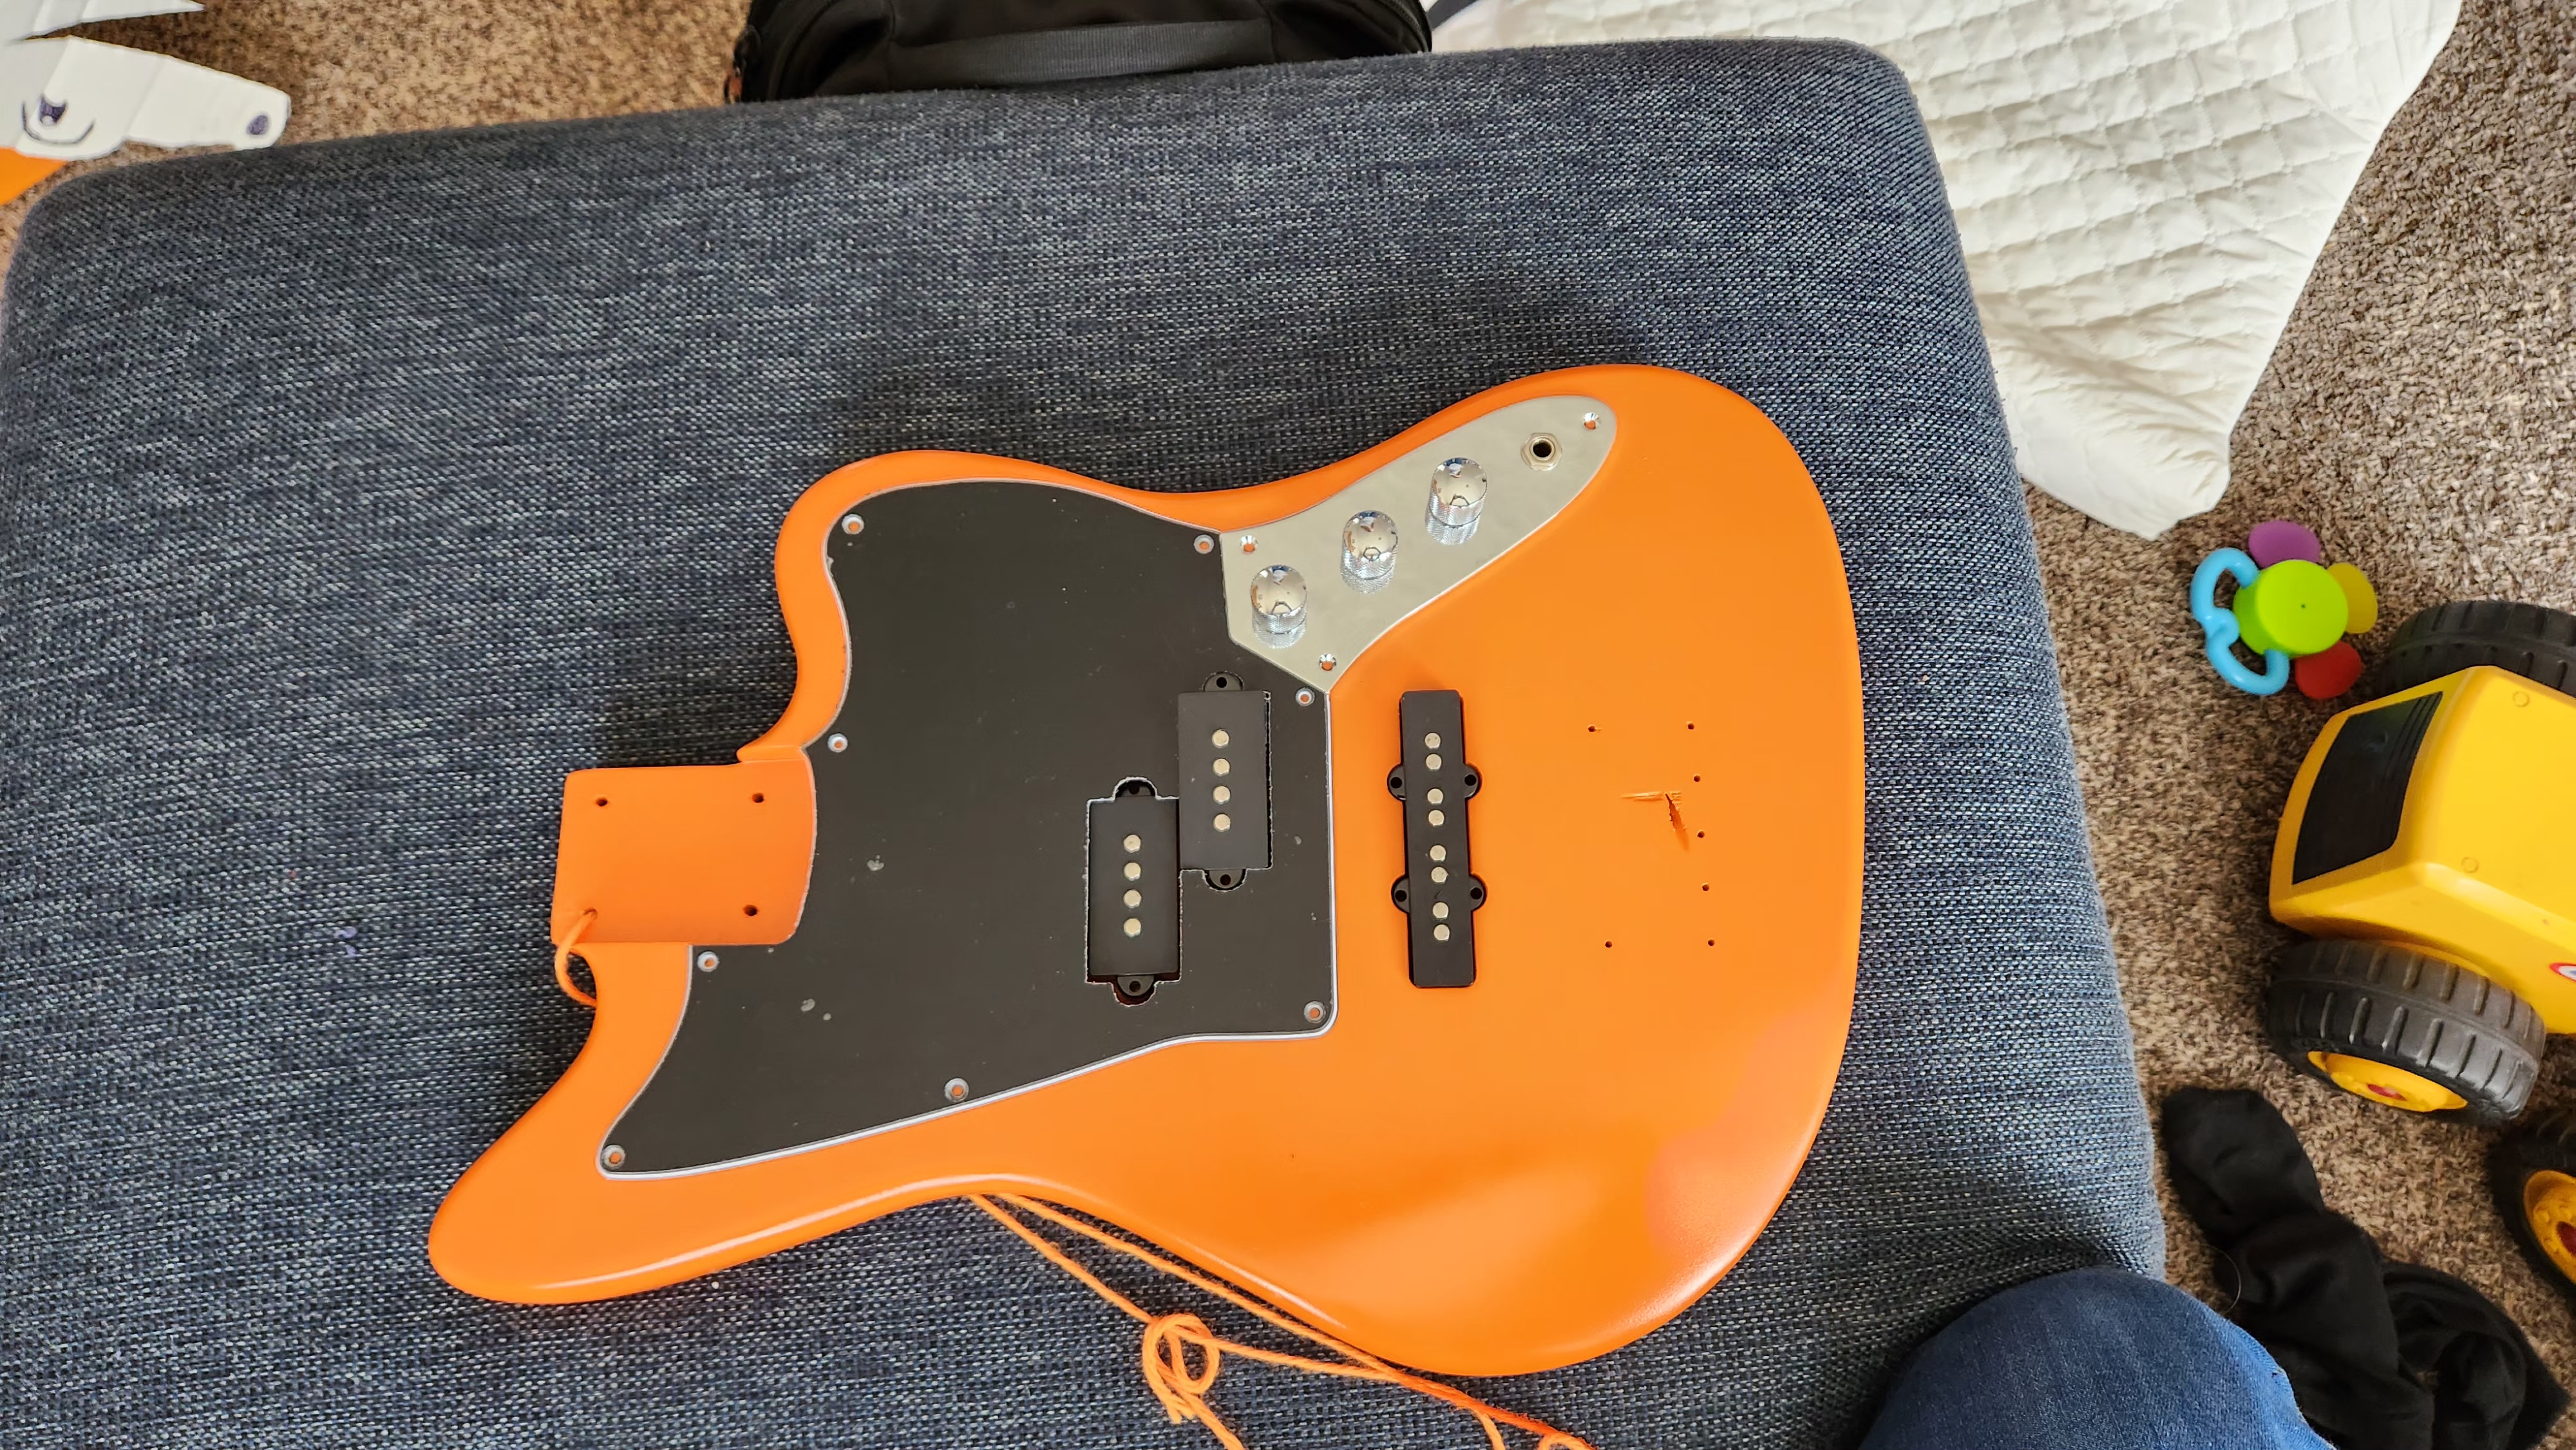
Sadly, after getting things strung up, I discovered some of the QA issues with this bass. For one, the bridge didn’t line up the strings evenly with the neck. The E string was in the right place, but the G string was fairly far from the bottom of the fretboard. I got my pickups installed, but I had to shift them over to lineup with the strings, and they no longer lined up with the pickguard. I was alright with that because I got some pearl white pickguard material I was going to make a new pickguard out of, but I was disappointed that I wouldn’t be able to use the original one as a template.
I started doing a setup, and I think the nut might also be too short. I’m getting some fret buzz from those lower frets, and while I was able to fix a lot of that during the setup, it still feels a little low near the nut. We’ll see if I replace that though. The setup wasn’t too hard though, and the intonation was actually really close right out of the gate without adjustments.
The other sad part is how bad of neckdive this bass has. Using a kitchen scale, a bag around the strap, and some other testing, it feels like there’s about 2lbs of weight that need to be added near the strap. The real cause of the bad neckdive is the light body with a short upper horn. Most Jaguars have a horn that ends close to the 12th fret. Mine is around the 14-15th. After looking around a lot and doing some testing, I think my best path forward is this: try adding weight to my strap to pull the body down more, try swapping out the tuners for lightweight tuners, and installing a hi-mass bridge. If none of these options work well, my next step could be creating a strap button extender to put the end of the strap out near the 12th fret like other basses.
Pickguard
Like I mentioned at the start of this, I’m new-ish to woodworking, so using a router to make precise cuts didn’t go too well. I practiced cutting out templates from MDF, and once I had something I liked, I tried cutting it out of the pickguard material. I used clamps to keep the materials together, but in hind-sight, I should’ve grabbed some double-sided tape instead. What I ended up with was a bad cut around the pickups, so I couldn’t use it on the bass. I also cut out too much material, so I didn’t have enough to cut out another pickguard using the same jaguar design.
I’m currently working on designing a new one, and I will likely try to copy something similar to a jazz pickguard, or the Talman Bass (Ibanez). I’ll still stick with the pearl white material, but we’ll see how it goes.